


Welcome to The Kitchen Club! Our first research project is all about homemade yogurt! Your subscription to The Kitchen Club helps provide the ingredients and supplies that go into my research, thank you!
If you enjoy today’s newsletter and know someone else that would too (or maybe you know someone that really needs help cooking) be an awesome friend and give them a gift subscription!
Welcome to our first research project! Today we are going to deep dive into making yogurt at home. This was something I hadn’t done until a few months ago. It’s incredibly straightforward but has a ton of variables that affect the final product. If you are reading this and saying out loud “no freaking way I am making yogurt” that’s okay! My goal is that we all learn a little bit about yogurt and have more knowledge when buying some from the grocery store.
Homemade Yogurt
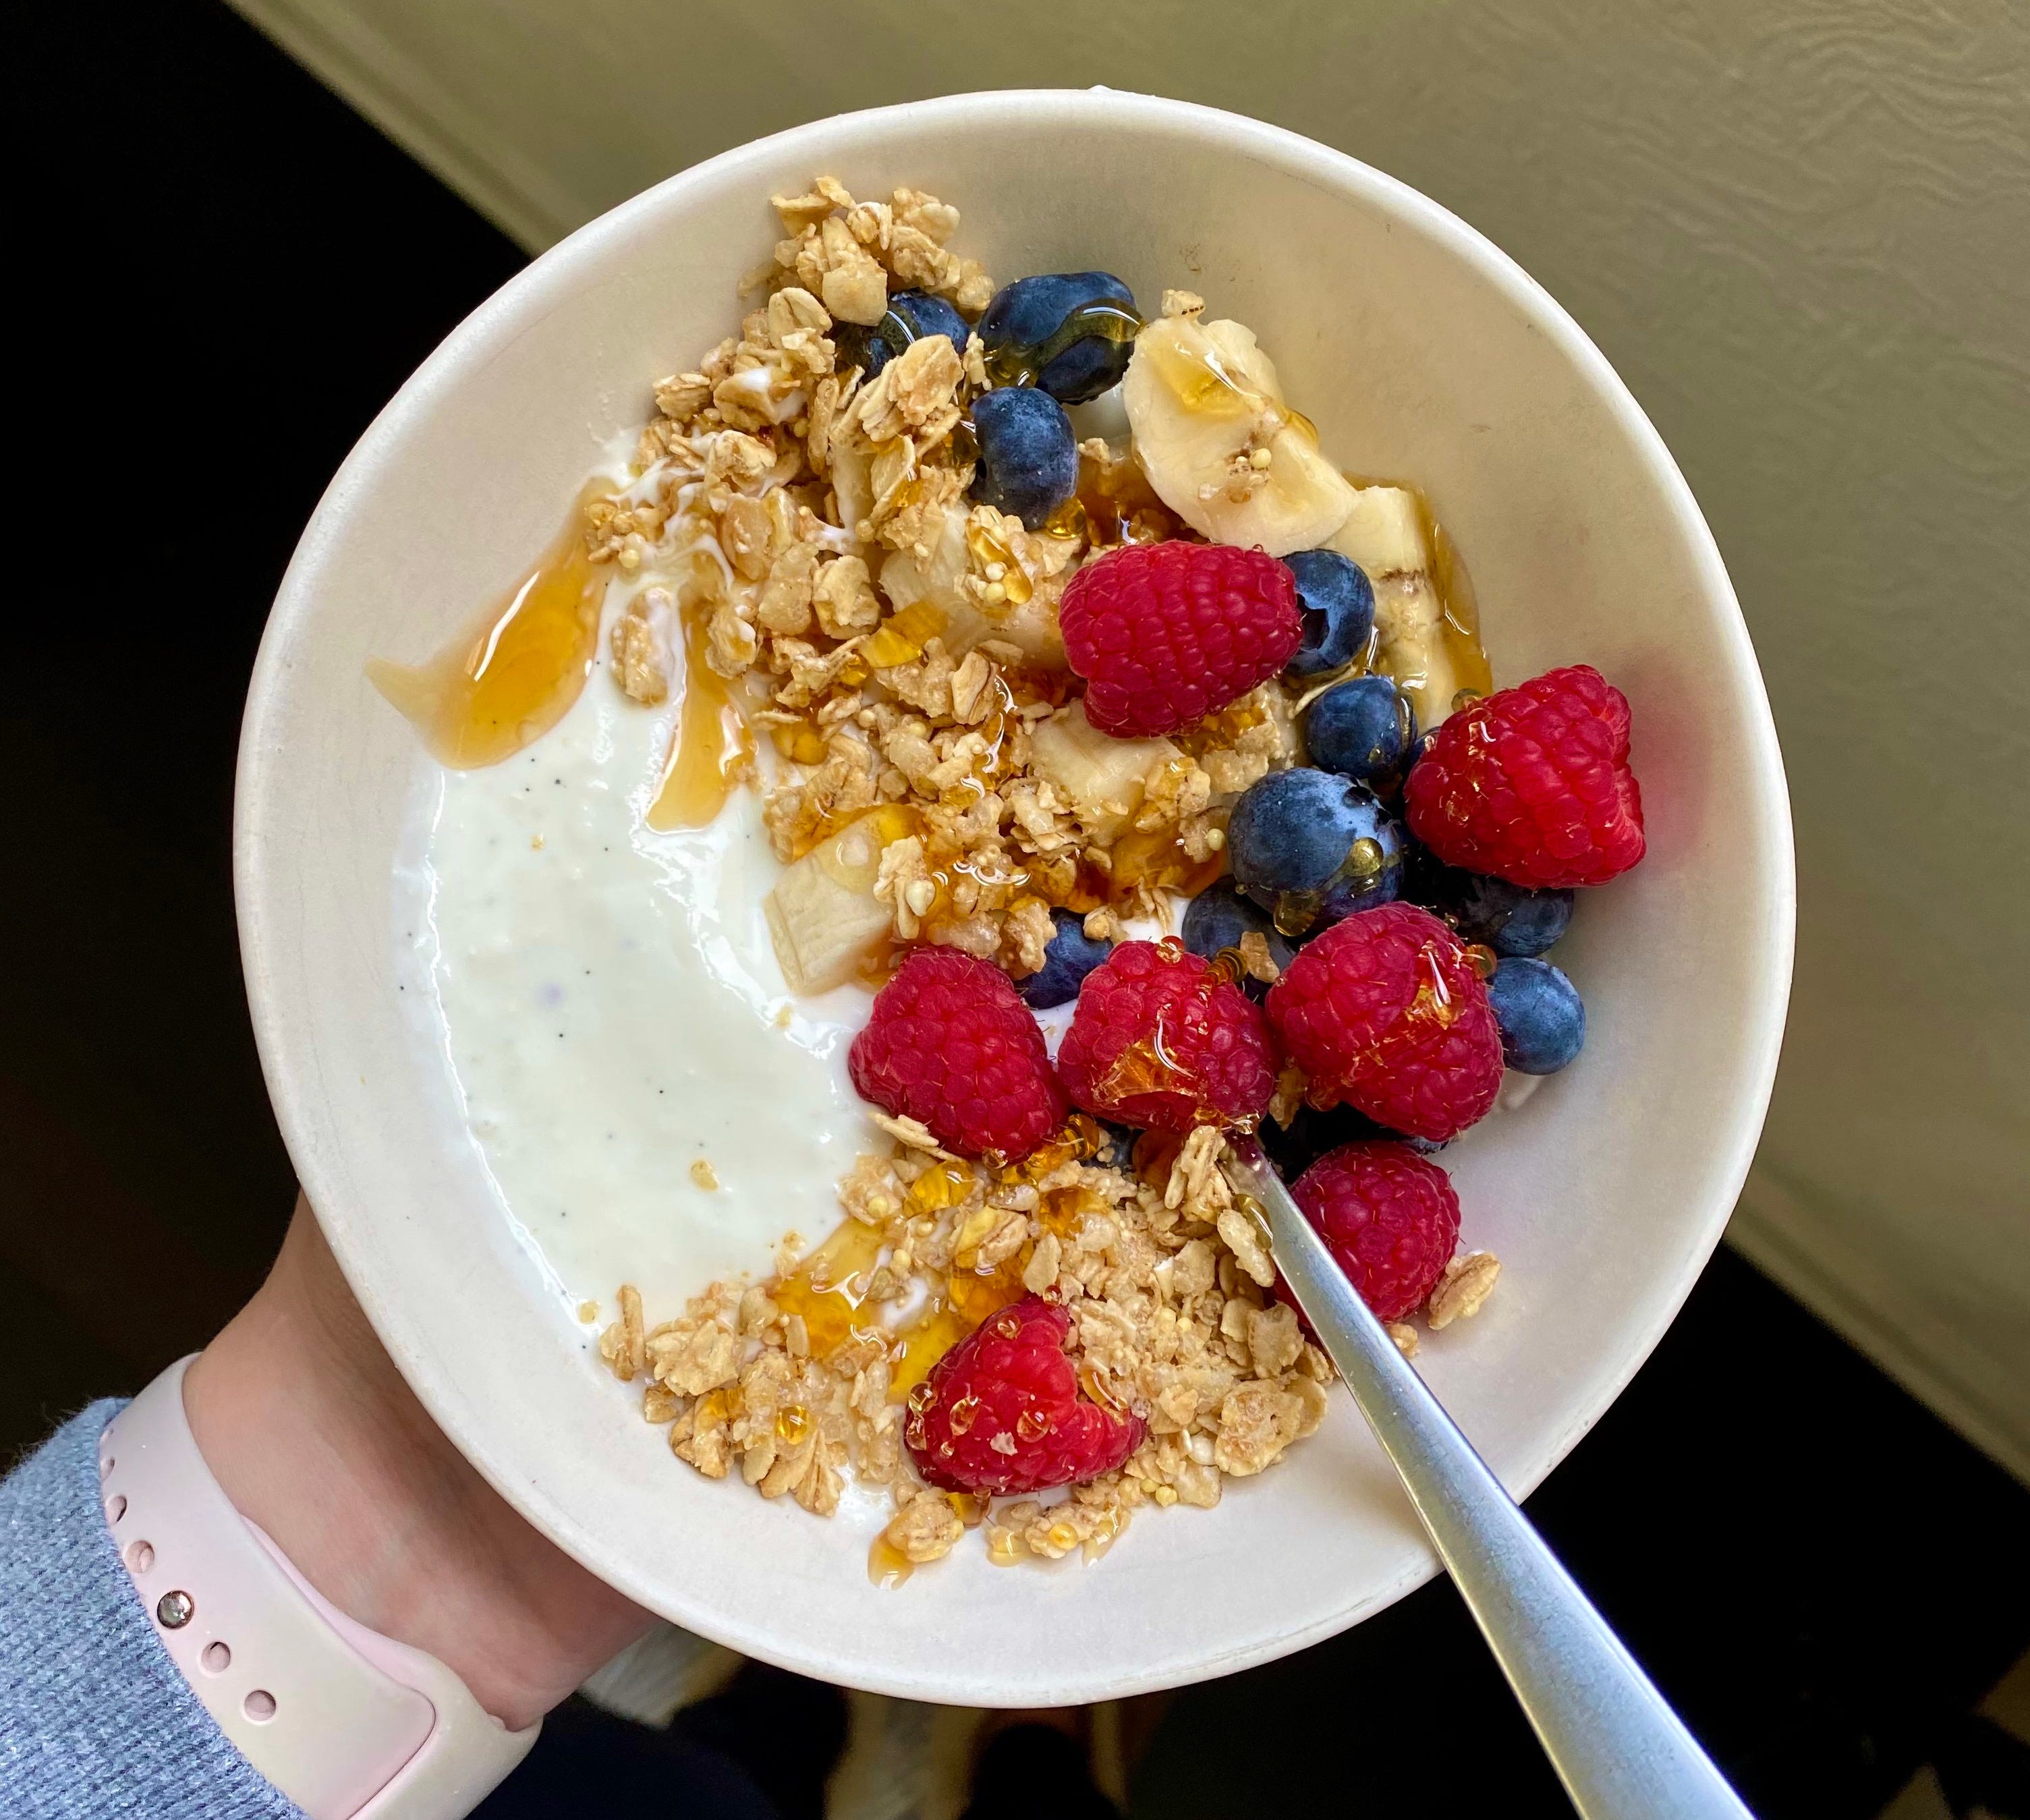
For many years I ate yogurt, fruit, and granola never missing a day. Somewhere around 2014, I cut out dairy because it is “bad for us.” I still believe we don’t need to eat as much dairy as we do. Since then it has come back into my life and I totally eat ice cream when I want and never turn down a good cheese. Two months ago I stood staring at the yogurt aisle for the first time in years and really wanted a yogurt. There are so many new types and brands that I was intrigued with. After eating the first new one, Noosa, I was hooked again and stocked my fridge with a plethora to sample. After a quick Google search and learning how simple it was to make, I decided to try making my own.
The basics of making yogurt are this: milk is warmed, live cultures are added, the cultures and the milk mingle in a warm place for a few hours, the cultures bloom, and the milk thickens. An optional step is to then strain the yogurt to remove some whey and have a thicker consistency. This is how Greek yogurt and Labneh are made. You can introduce these cultures in two ways, freeze-dried yogurt cultures or adding yogurt with live active cultures like Fage. I tried both in a side-by-side test and separately. Fage consistently gave me better results than the freeze-dried yogurt starter. Freeze-dried cultures always took longer to thicken, which could be due to the fact that they are freeze-dried and need more time to bloom. If you are going to purchase one, just grab Fage which is more readily available.
Milk
While you are at the store picking up some Fage to use as your starter, you are going to need to get some milk. Skim, low fat, and whole milk all work. You have the option to select your fat percentage here and more fat equals creamier and richer yogurt…AKA tastier! Normal pasteurized milk found at the grocery stores is fine, as well as raw milk (if you can get your hands on it), but avoid ultra-pasteurized because it can have issues with thickening properly. I haven’t tested ultra-pasteurized because all my sources said it leads to not great results. We have a local dairy farm right outside of KC, Shatto, where the milk doesn’t travel far therefore making it a bit fresher than other brands available to me. It produces my favorite results, plus it comes in glass bottles. The second brand I liked using was Kalona Supernatural Whole Milk with a Cream Top. Any brand will work and they will all have their own unique flavors.
Consistency
Yogurt to me is an indulgent snack and I like it thick and creamy. I often eat it as a treat after dinner. For this reason, I will always choose high fat instead of a low-fat option. Something I learned is that most mass-produced yogurts have stabilizers in them like gelatin, pectin, or carrageenan (a natural seaweed thickener). When I looked into this a little further I learned that these stabilizers add viscosity but also aid in shelf life. Yogurt will have some natural separation of whey and solids as it sits. Again, this is natural. The added stabilizers hold the whey in place so when you open a yogurt from the grocery store, that has been made, packaged, shipped, shelved, and waiting for you to buy for a few days, there is no separation and it looks like it was just made. These stabilizers are not bad for you but they are an extra added ingredient and something to keep in mind. It also weirded me out a bit to think about how long yogurts sit around before coming home with me.
Three ways I tried to help thicken yogurt, but not stabilize it, were heating the milk for a longer period of time to allow water to evaporate, adding more fat (cream), and straining it. Adding more fat made it really decadent. Something I might do if I was making a yogurt-based dessert but not necessary for everyday use. Adding fat also requires some calculation as too much fat will reduce the lactose and we need lactose to culture. Twice when I added extra cream I had the fat separate and essentially float on the top like liquid butter. I can’t say exactly what causes this, my guess is heating it too high, but it was gross and an unnecessary issue.
The combination of holding the milk around 190°F for 20 minutes and straining it for at least two hours produced a great result. Another way to thicken the yogurt is by adding nonfat milk powder. I skipped this test because I found the combination of holding the warm temp and straining was enough. Nonfat milk powder is often added to make a creamier consistency of yogurt made with a lower fat percentage.
Incubation
Once you get the cultures into your warm milk there is nothing else to do…except keeping the milk warm. This can be done in many ways. If you live in a warm climate you could leave the milk on your counter. Some people put it in an oven with the oven light on to create a tiny bit of heat. Many people wrap the pot in towels and blankets to insulate the milk. Yogurt makers, Instapots, and slow cookers are also an option. I opted to use my sous vide water circulator. It allowed me to surround the pot of milk with a consistent temperature and I almost never had issues.
My sous vide machine provides a temperature reading in Celcius, which is no problem because with Google I can easily convert it. For the first four batches, I had it at 36° Celcius thinking it was 110° Fahrenheit…it in fact is not. I made my first four batches at 36° Celsius which is actually 96.8° Fahrenheit. This is a little lower than the suggested 110-115° Fahrenheit but they actually always turned out great. Following this discovery I made two batches turning the sous vide up to 110° Fahrenheit and both batches failed. It isn’t a huge increase but it was too hot for my cultures and both batches curdled well before my preferred incubation time of at least five hours. I was left with something that looked like ricotta cheese. Solids completely separated from the whey with an unpleasant grainy texture.
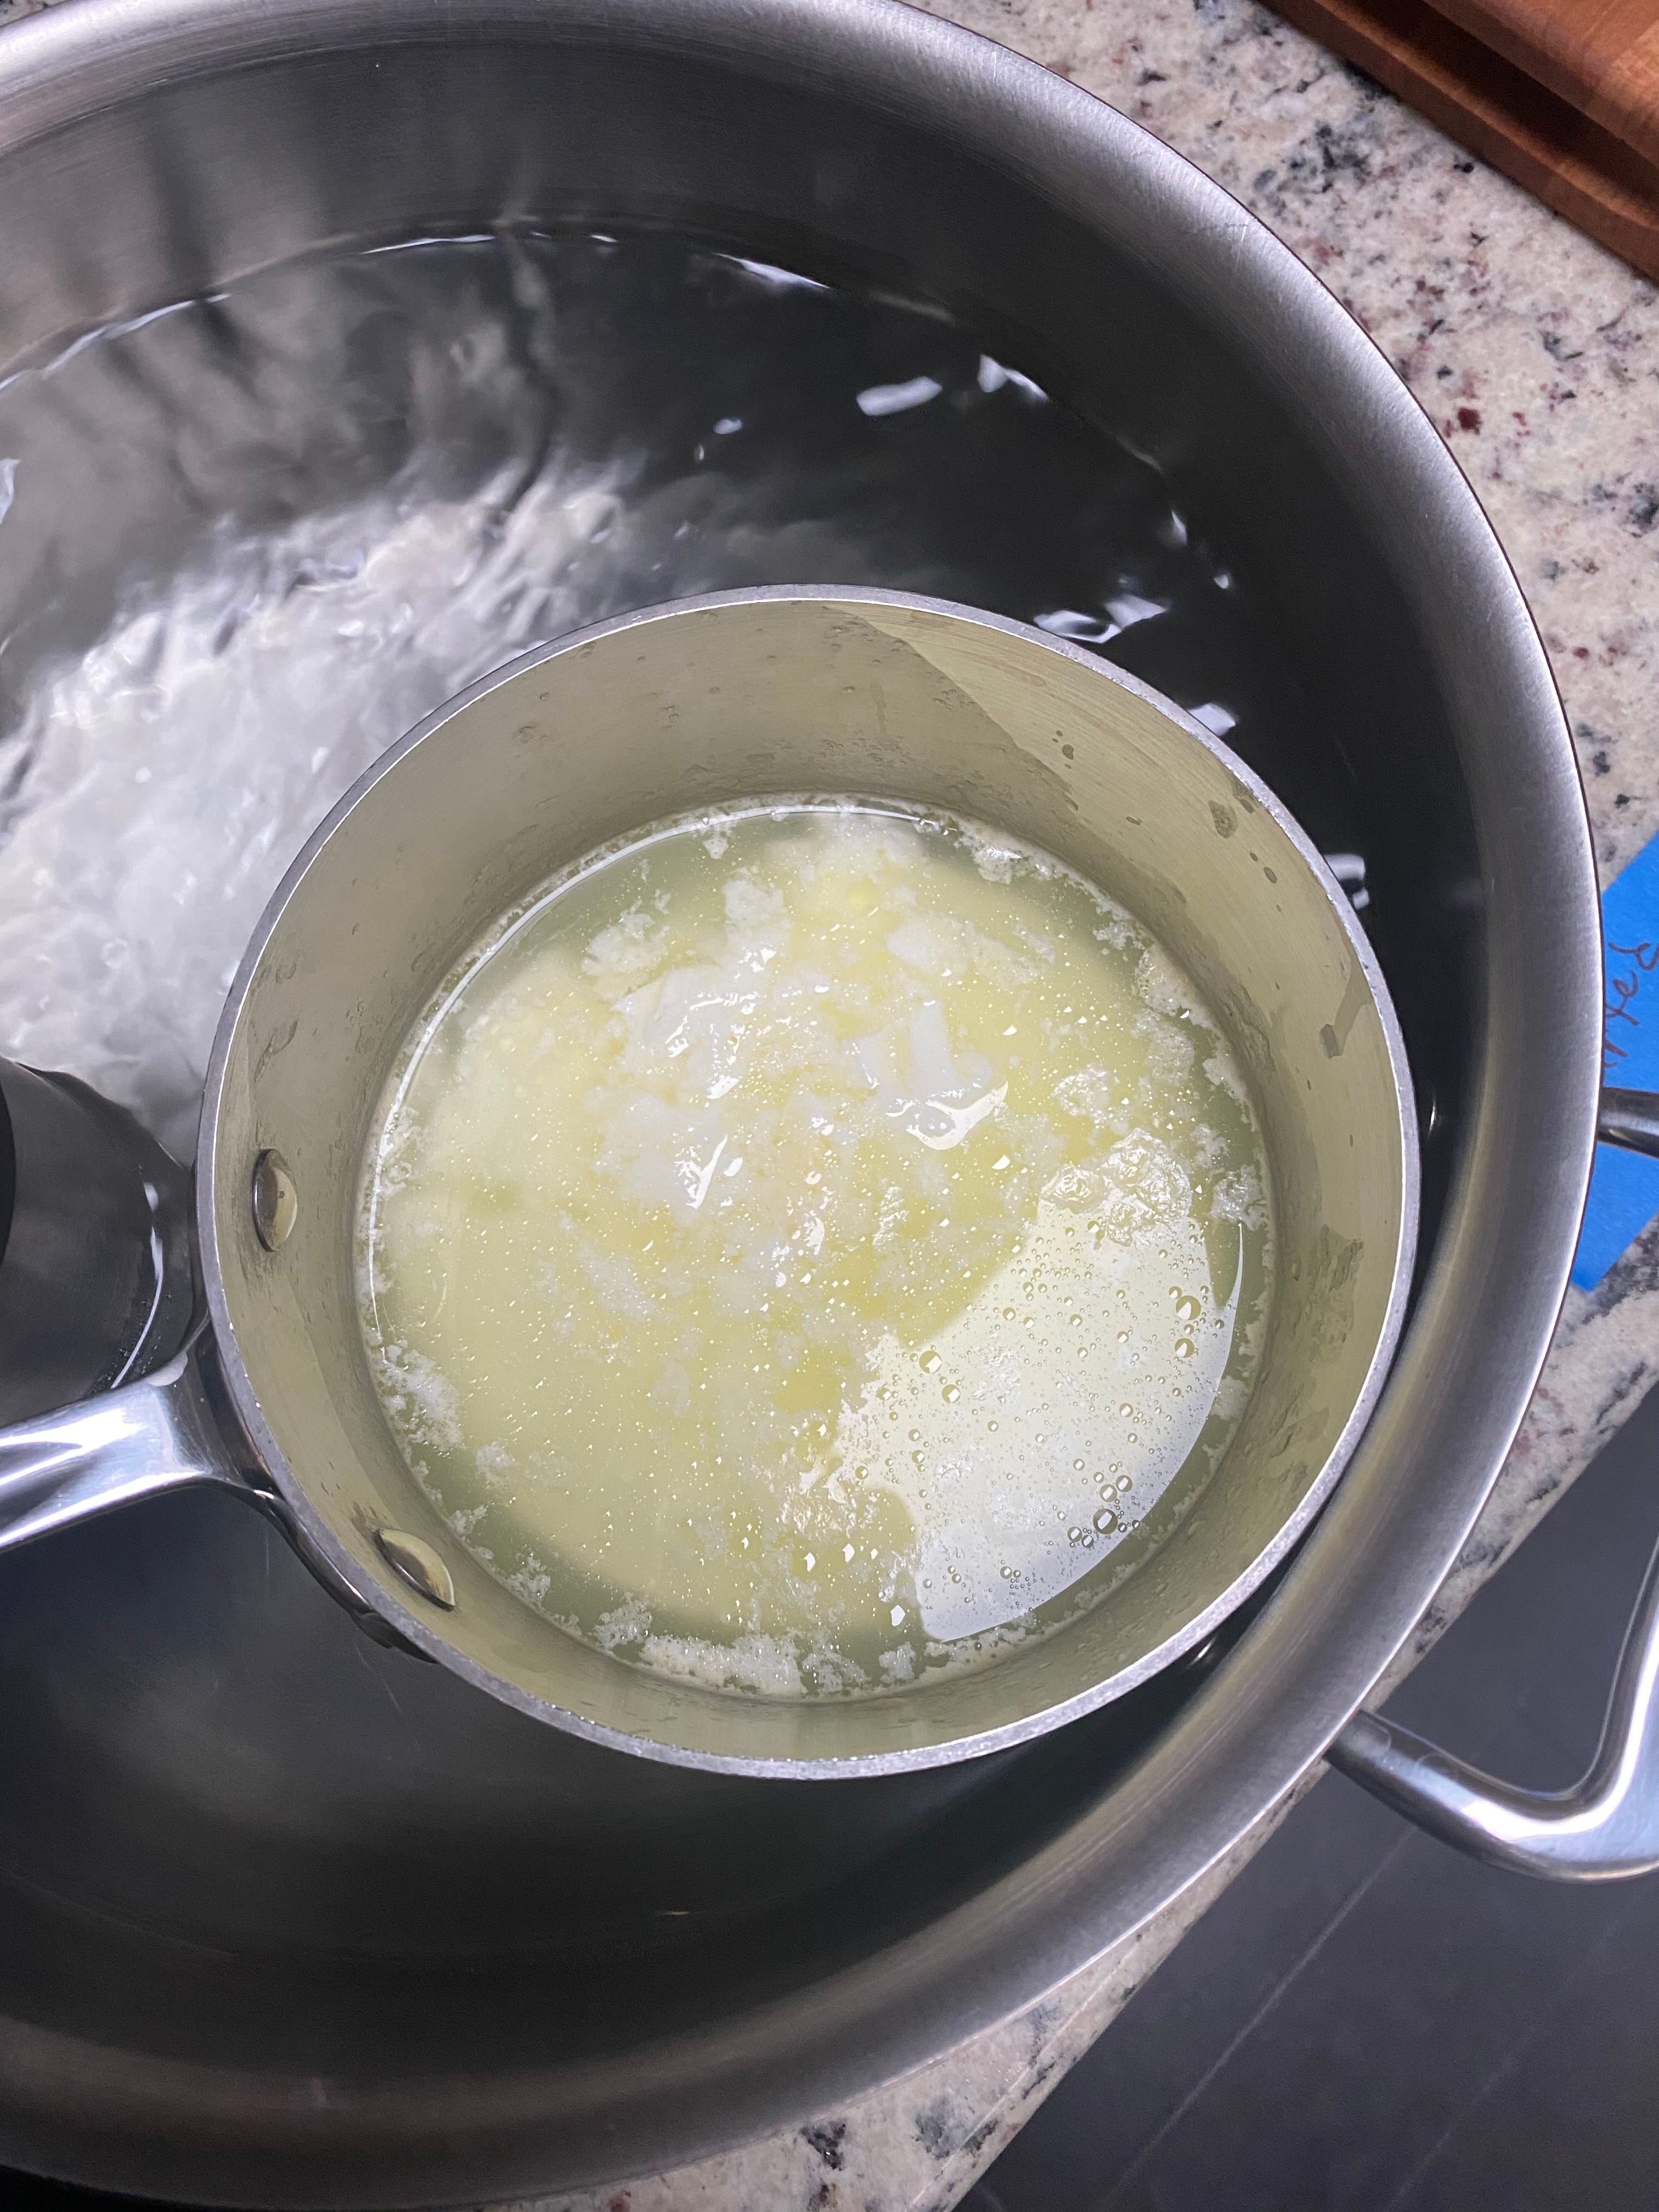
Some sources told me to whisk some whey back into the solids to fix the separation and achieve the yogurt consistency. Sure it became somewhat smooth again but after trying to fix both batches I decided there really was no solution. My takeaway from these failed batches was that a lower temperature (36°C/96.8°F) produced better yogurt for me. This is active fermentation and like making sourdough bread a lot of variables go into the final product.

Sweeteners + Flavors
Another added ingredient to store-bought yogurt is sugar. A LOT of sugar. For example, a tub of Noosa has 33 grams of sugar. That’s crazy town. I personally love a slightly tart plain yogurt with honey drizzled on top to sweeten it. After plain my second favorite is vanilla yogurt. I opted not to sweeten any of the batches and stick to a honey drizzle when I wanted some sweetness. I experimented with different ways to add vanilla. Stirring in some vanilla extract was the easiest way but the yummiest was adding 1/3 of a vanilla bean (about a 2-inch piece) into the warm milk and letting it steep through the whole process. I split the pod to expose the beans, added it to the milk before warming it to 190°F, and left it in until I strained it. Before tossing it, I scrapped the remained seeds from the pod and stirred them into the yogurt. This was my perfect slightly tart, thick and creamy, vanilla yogurt. It was especially good with homemade strawberry jam on top.

What about the whey?
I have a hard time wasting food in my house and I felt terrible dumping it down the drain. Some ways to use whey that I found online were: add it to baked goods, add it to smoothies, water your plants with it, ferment something in it…the list goes on. I ended up giving little bits to Josie as a treat. It’s loaded with probiotics and she loved it.

Click here to download + print.
My Perfect Homemade Yogurt
32oz (4c) Whole milk
60g Fage 5% yogurt
2inch Vanilla bean piece, split
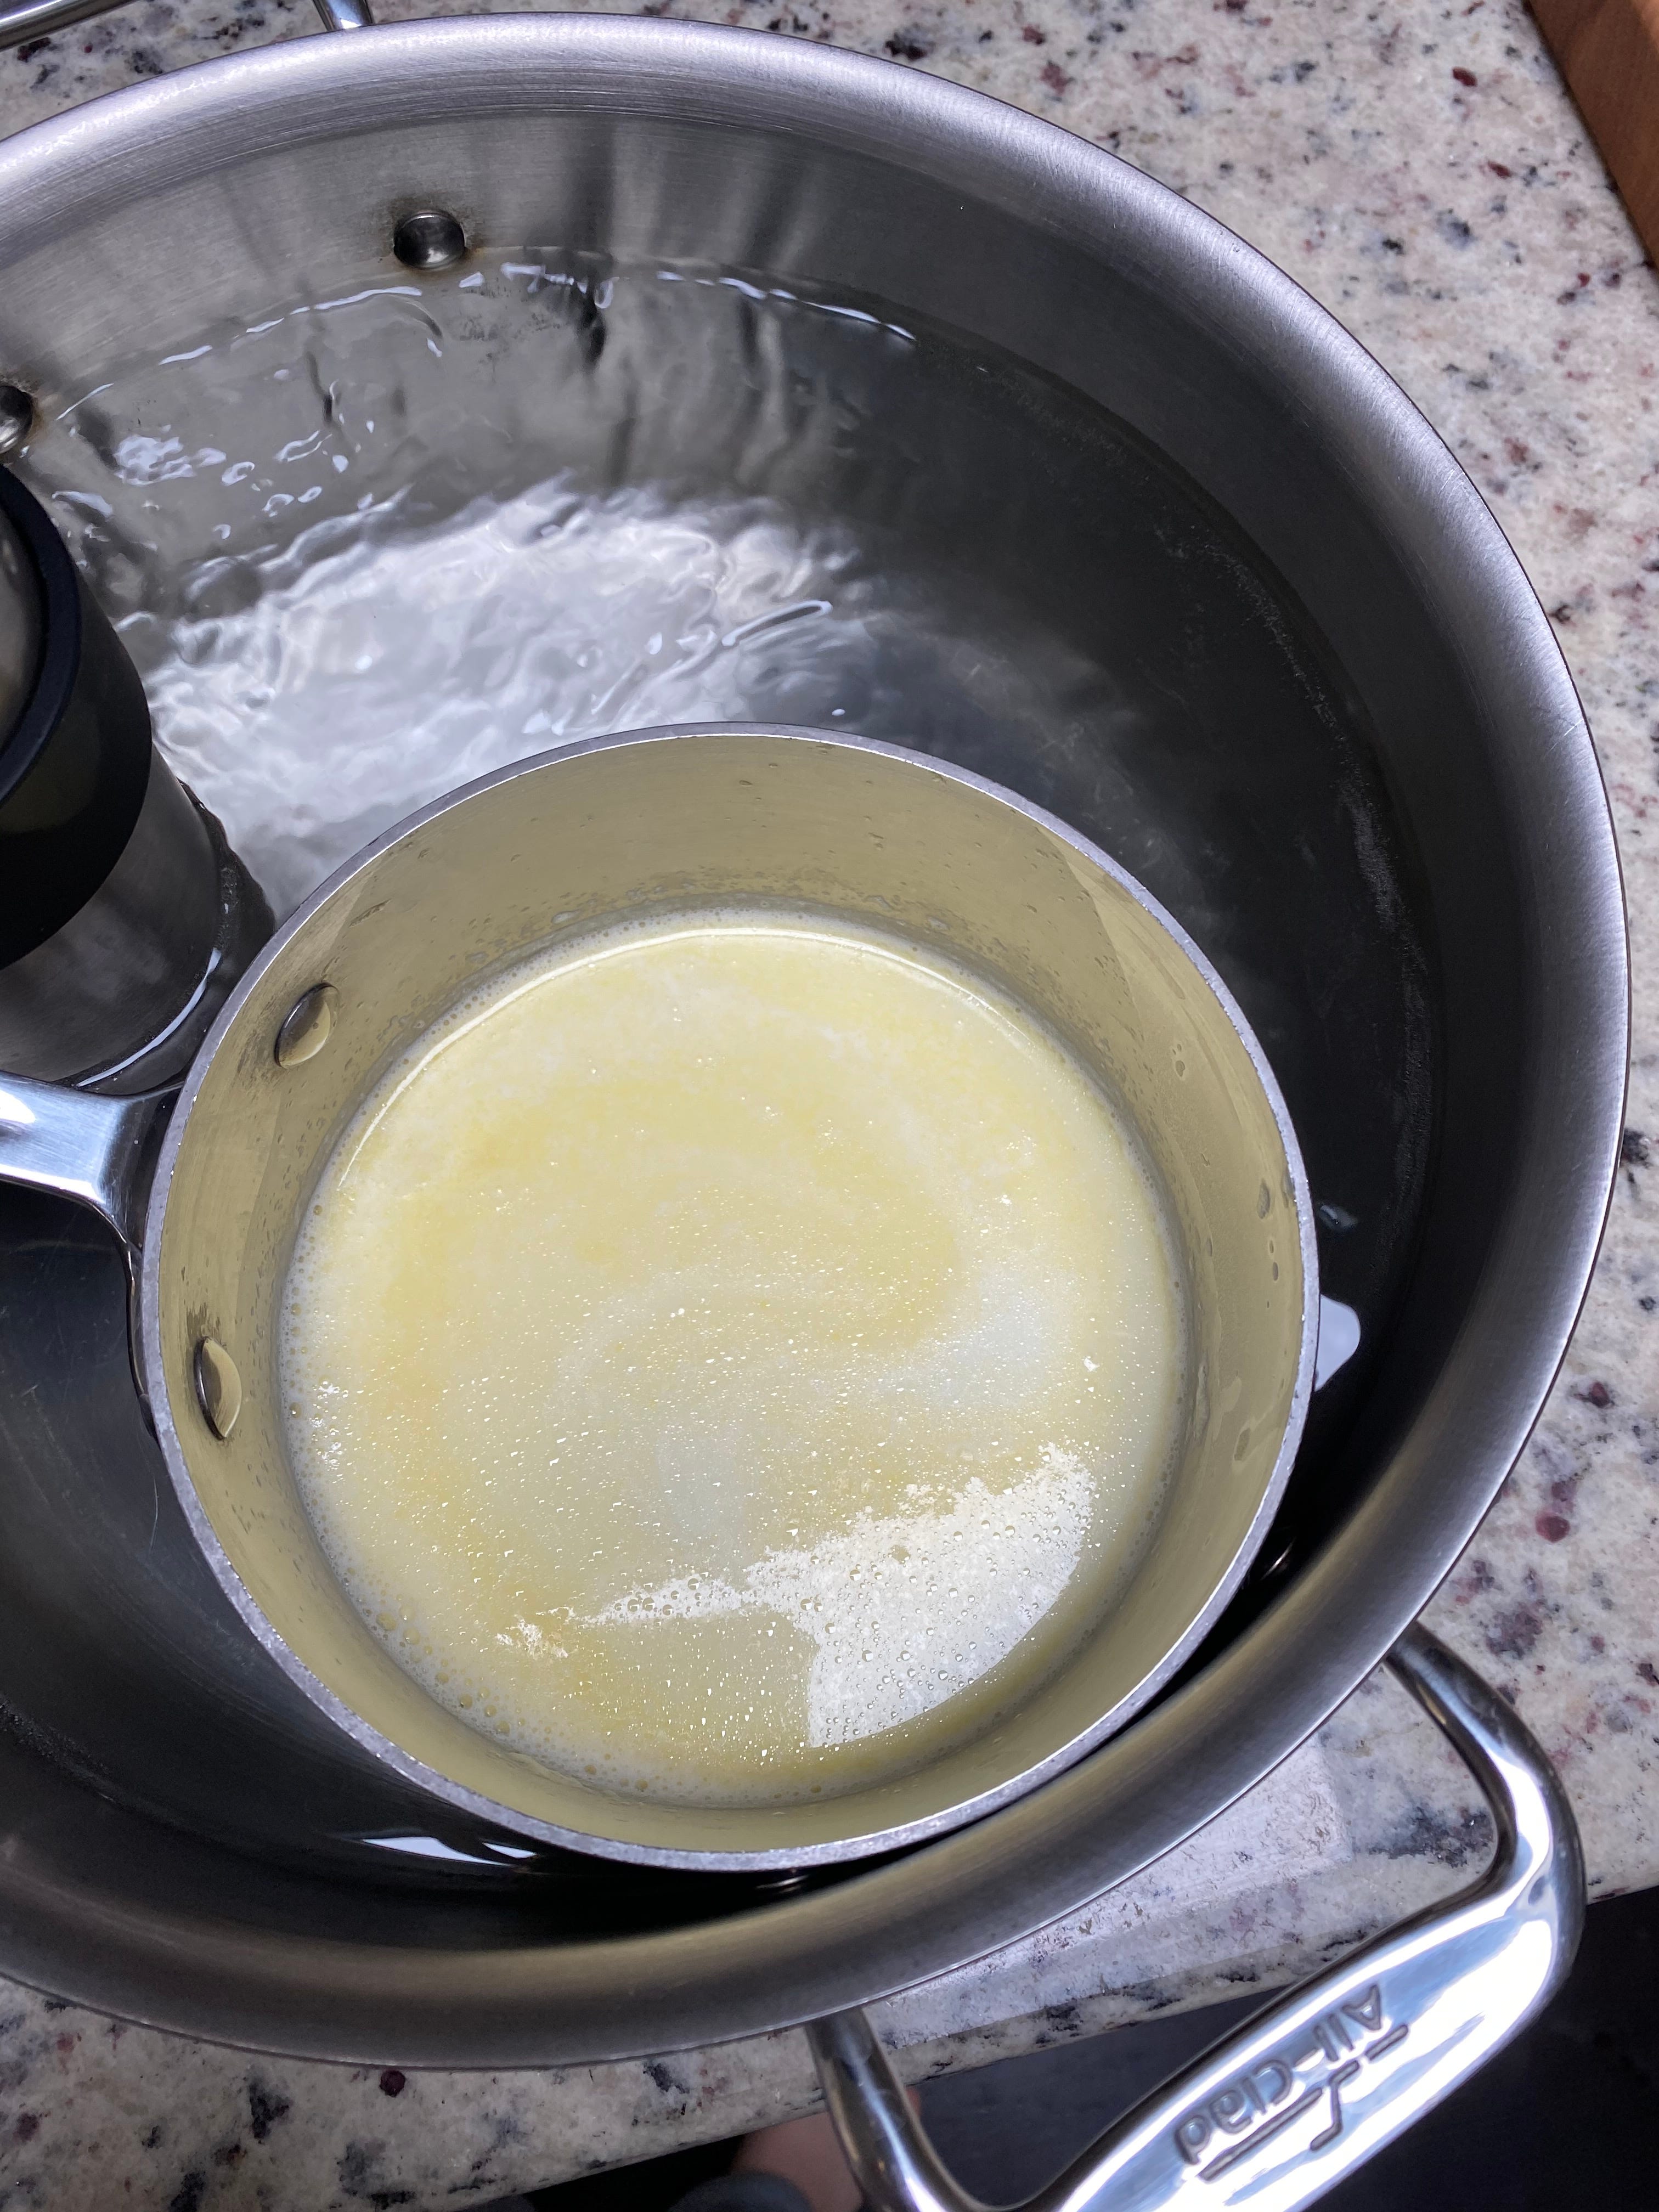
Add 4 cups of Shatto or Kalona Supernatural whole milk to a 2-quart saucepan. Heat milk over medium-low heat.
When the temperature gets to 185°F, reduce the heat to low and let it sit for 20 minutes. My milk will fluctuate between 185°F and 195°F. I try to keep it above 180°F and below 200°F and adjust the heat if needed.
After 20 minutes, remove from heat and let cool to 110°F. Cultures will die if heated above 110°F. The pan can be left on the counter to cool or placed in a large pot filled with cold water to speed up the cooling time. I place mine in a large pot with cold water and start my sous vide at 36°C (96.8°F).
When the yogurt temperature drops below 110°F, scoop about 1/4 cup of warm milk into a cup. Stir 60g of Fage 5% yogurt into the milk. Then pour milk and yogurt mixture back into the saucepan and stir to incorporate.
Place the lid on the saucepan of milk slightly ajar. Leave milk in a large pot with sous vide circulating at 36°C/96.8°F for 5-7 hours. I found it needs at least 5 hours for very slight tanginess. 7 hours is my preferred flavor. If you would like more tang, let it sit for a few additional hours until it has your ideal flavor. Some recipes let it culture for 12-24 hours!
After incubation, pour yogurt into a small colander or fine mesh strainer lined with cheesecloth or two nut milk bags. Place over a large bowl to collect the whey and place in the refrigerator for 2+ hours until desired thickness. *This is when I pull my vanilla bean out and scrape the remaining seeds into the yogurt.
Once strained, transfer to a container, refrigerate and enjoy for about seven days!

My final thoughts on making homemade yogurt are that it’s really great but I don’t eat enough yogurt to make it regularly. Could I use less milk so I didn’t have as much at one time? Yes, but that doesn’t reduce how much time and work go into a batch. I will make yogurt from time to time and do think it is much much better than store-bought but it won’t be on my weekly to-do list. It’s a fun project to at least try once and I hope some of you do.
Other Yogurt Resources:
Leave a comment and tell me: What’s your favorite brand of yogurt? Would you ever try making it at home?
See you next week! M
Gramps likes Chobani, blended. I like siggi’s.