


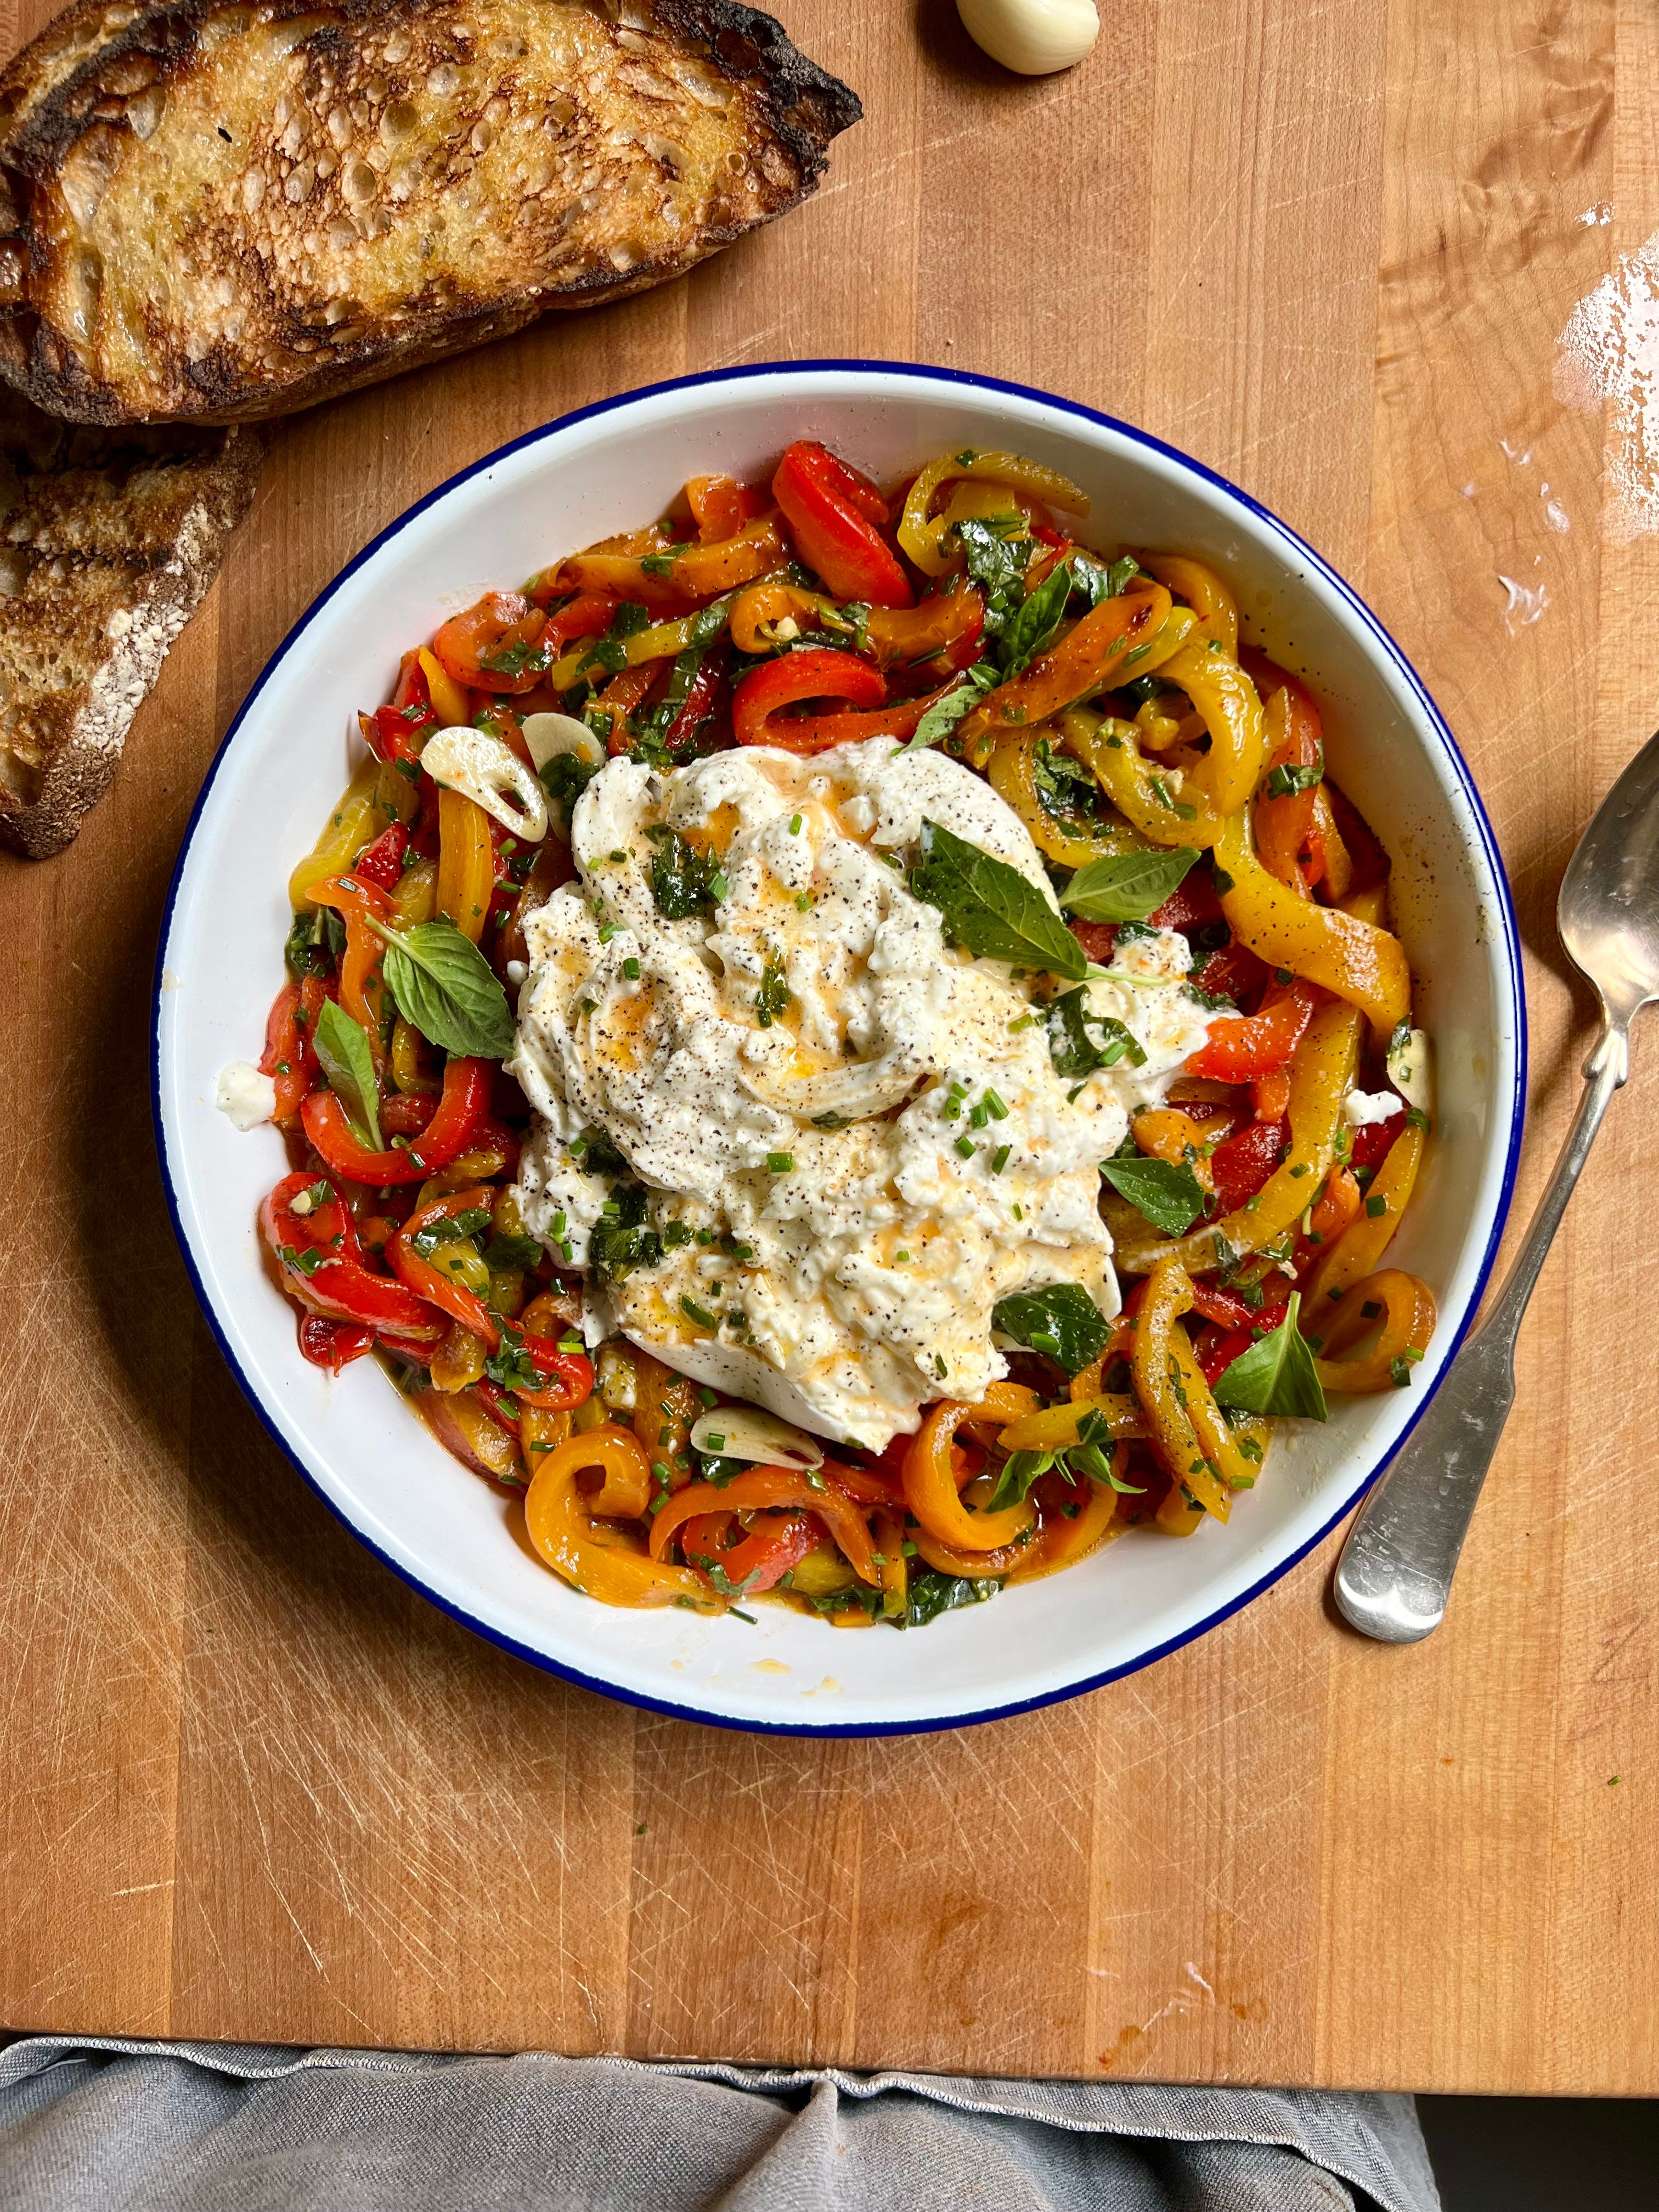
#54: Grilled and Marinated Peppers with Burrata
🔥 East Summer Grilling pt.1 🔥


It’s June! It’s (almost) summer! It’s an excellent time to get outside and fire up that grill! Welcome to Easy Summer Grilling! Today’s recipe is number one of five easy recipes for everyone to grill this summer. Before we can get grilling we need to light our fire and that’s what we are going to cover today.
If you are grilling on a gas grill, flip that switch and skip the next few paragraphs.
Whether you have Big Green Egg like me or a cute compact Weber on your balcony, we all need to get those coals lit. There is a really great tool called a charcoal chimney that can help with this. You fill the bottom with paper and the cylinder with charcoal. You light the paper on the bottom which then lights the charcoal. The cylinder shape helps with getting all the charcoal ripping hot and ready to go fast. From there the hot coals get poured into the grill and you are good to go. I think charcoal chimneys are a fantastic tool to have. That being said…I do not have one. This is purely out of laziness. I have no good reason other than I haven’t gotten around to buying one. So if you do not have one, this is how you can light your grill today. Today’s method is also very useful if you are using a grill at a park or campfire. The only thing you need is a fire starter cube and a lighter.
When I open my grill on any given day it looks like this:
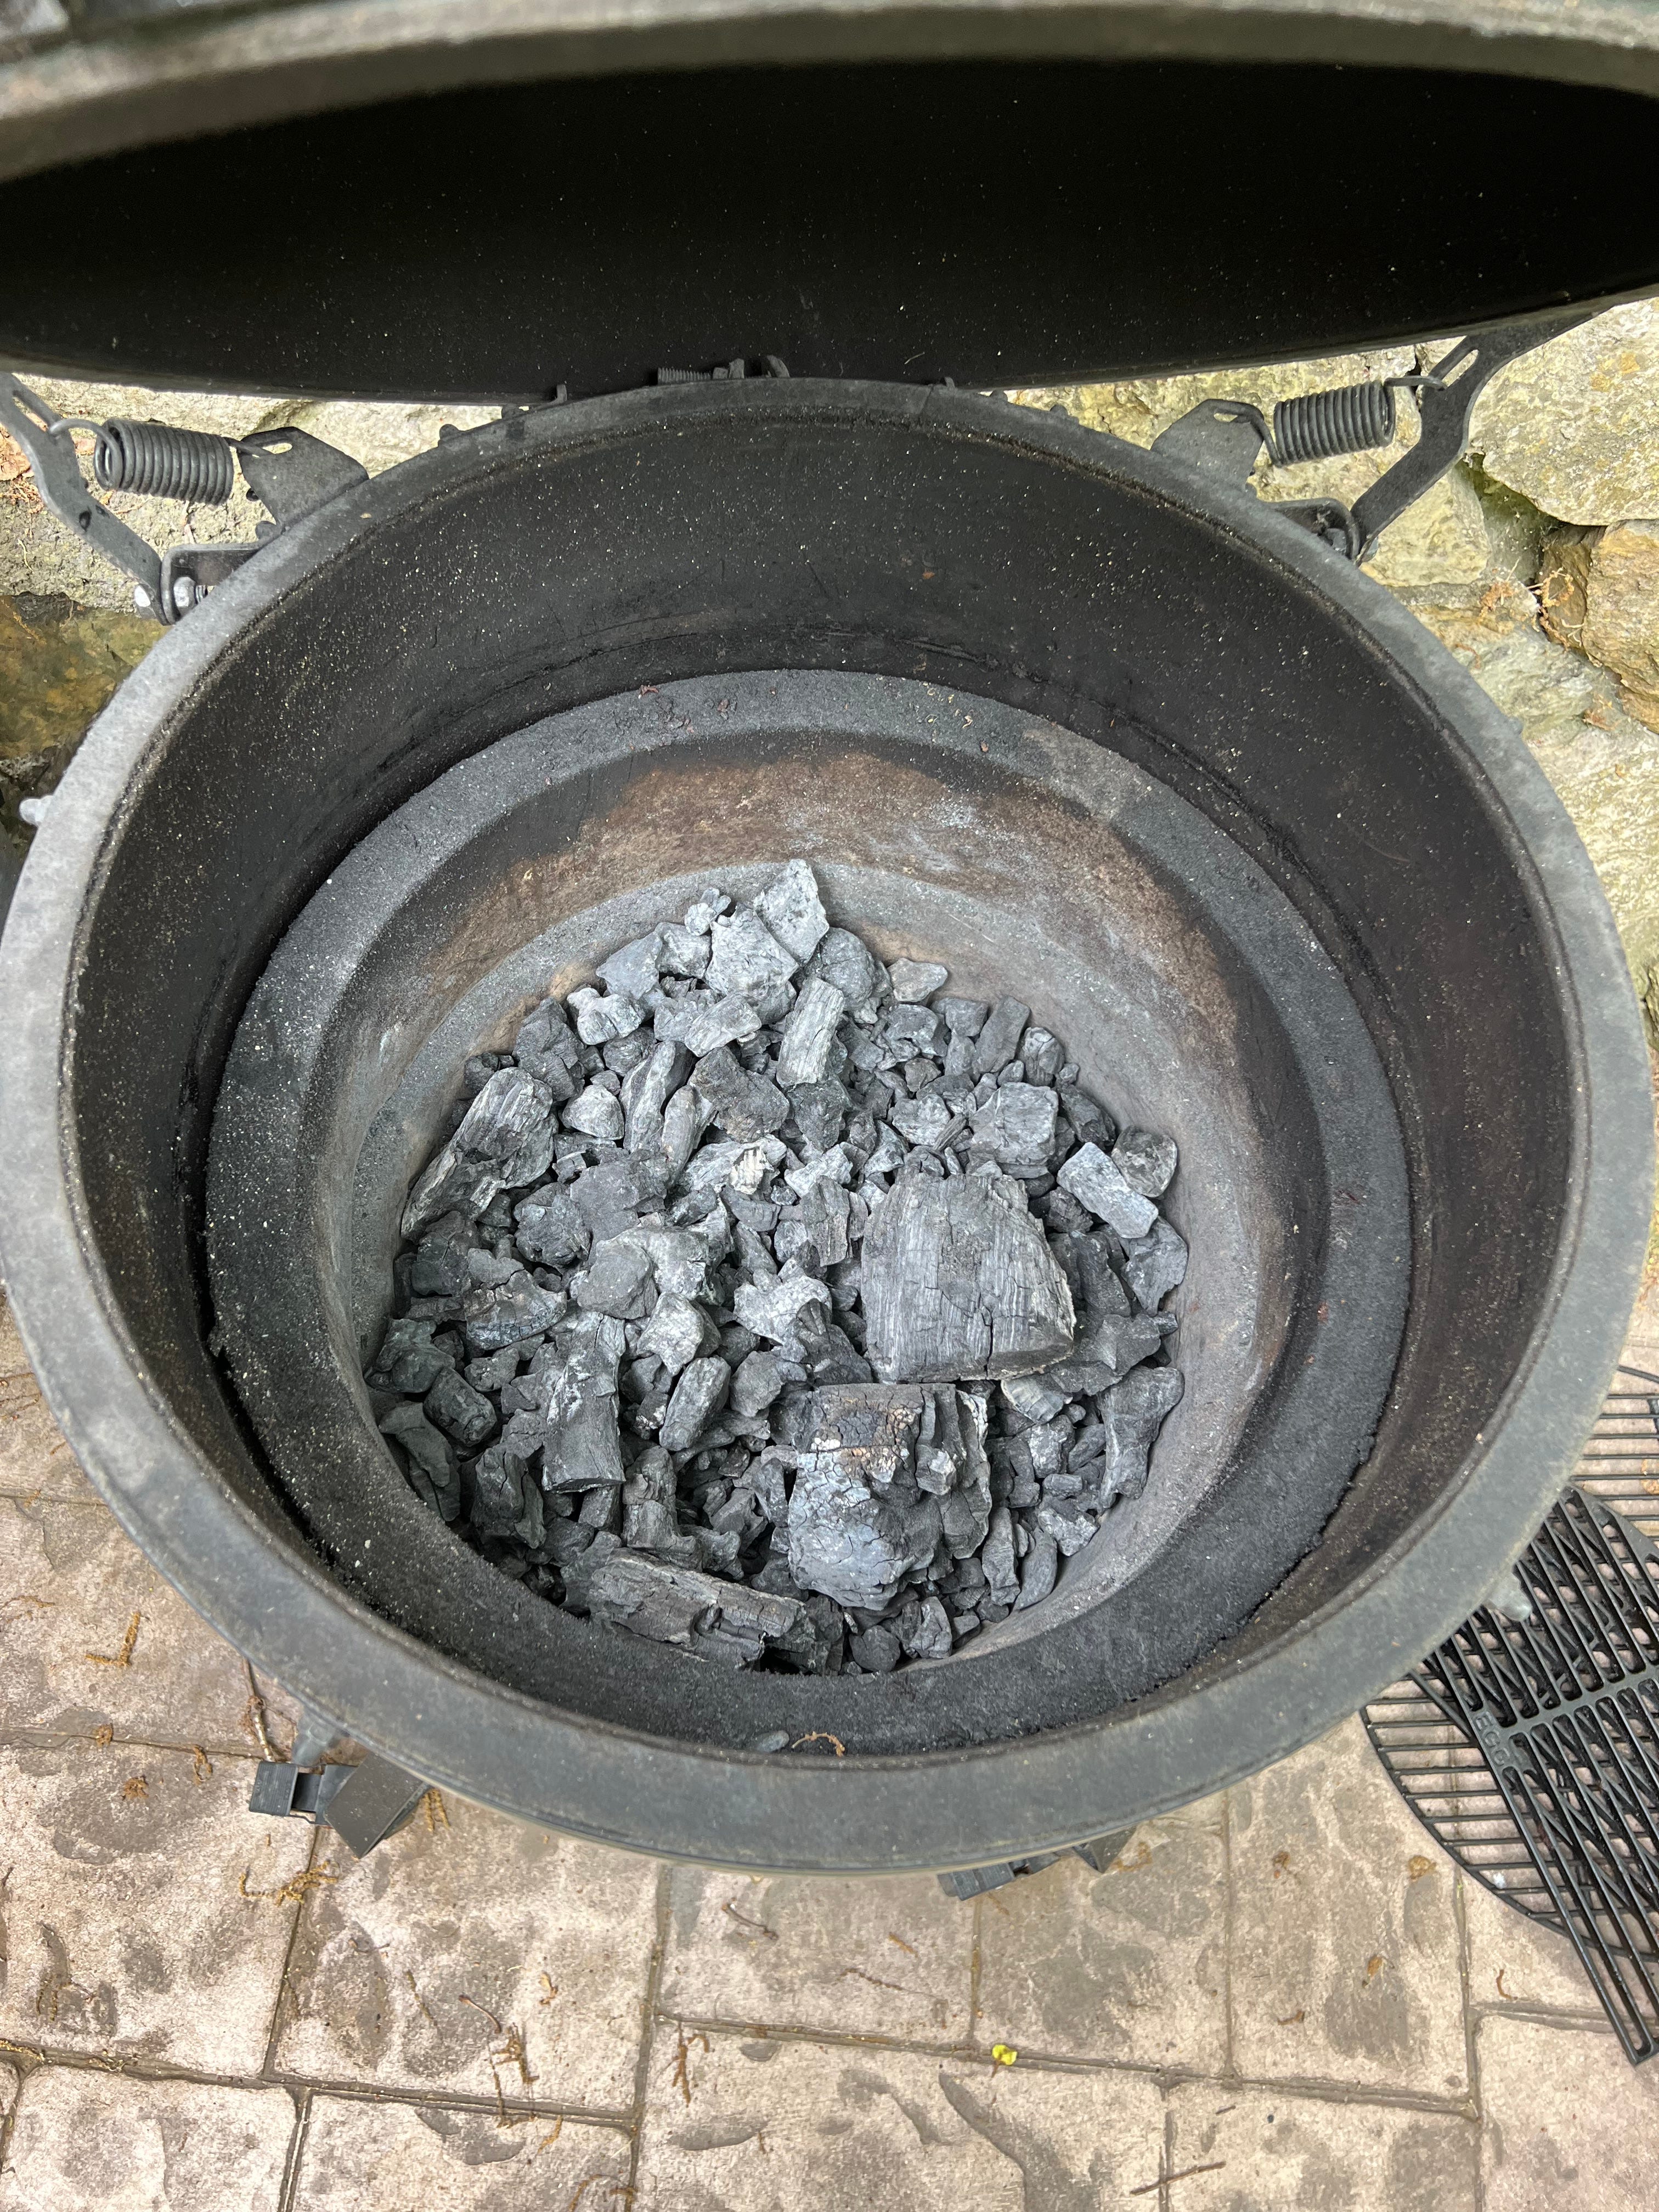
There are leftover pieces, mostly small but some big, of charcoal. My preferred charcoal is lump charcoal and one great thing about lump charcoal is you can get a few uses out of the pieces. When you are done grilling and smother the fire, any lumps that didn’t completely burn will be there the next time you go to grill.
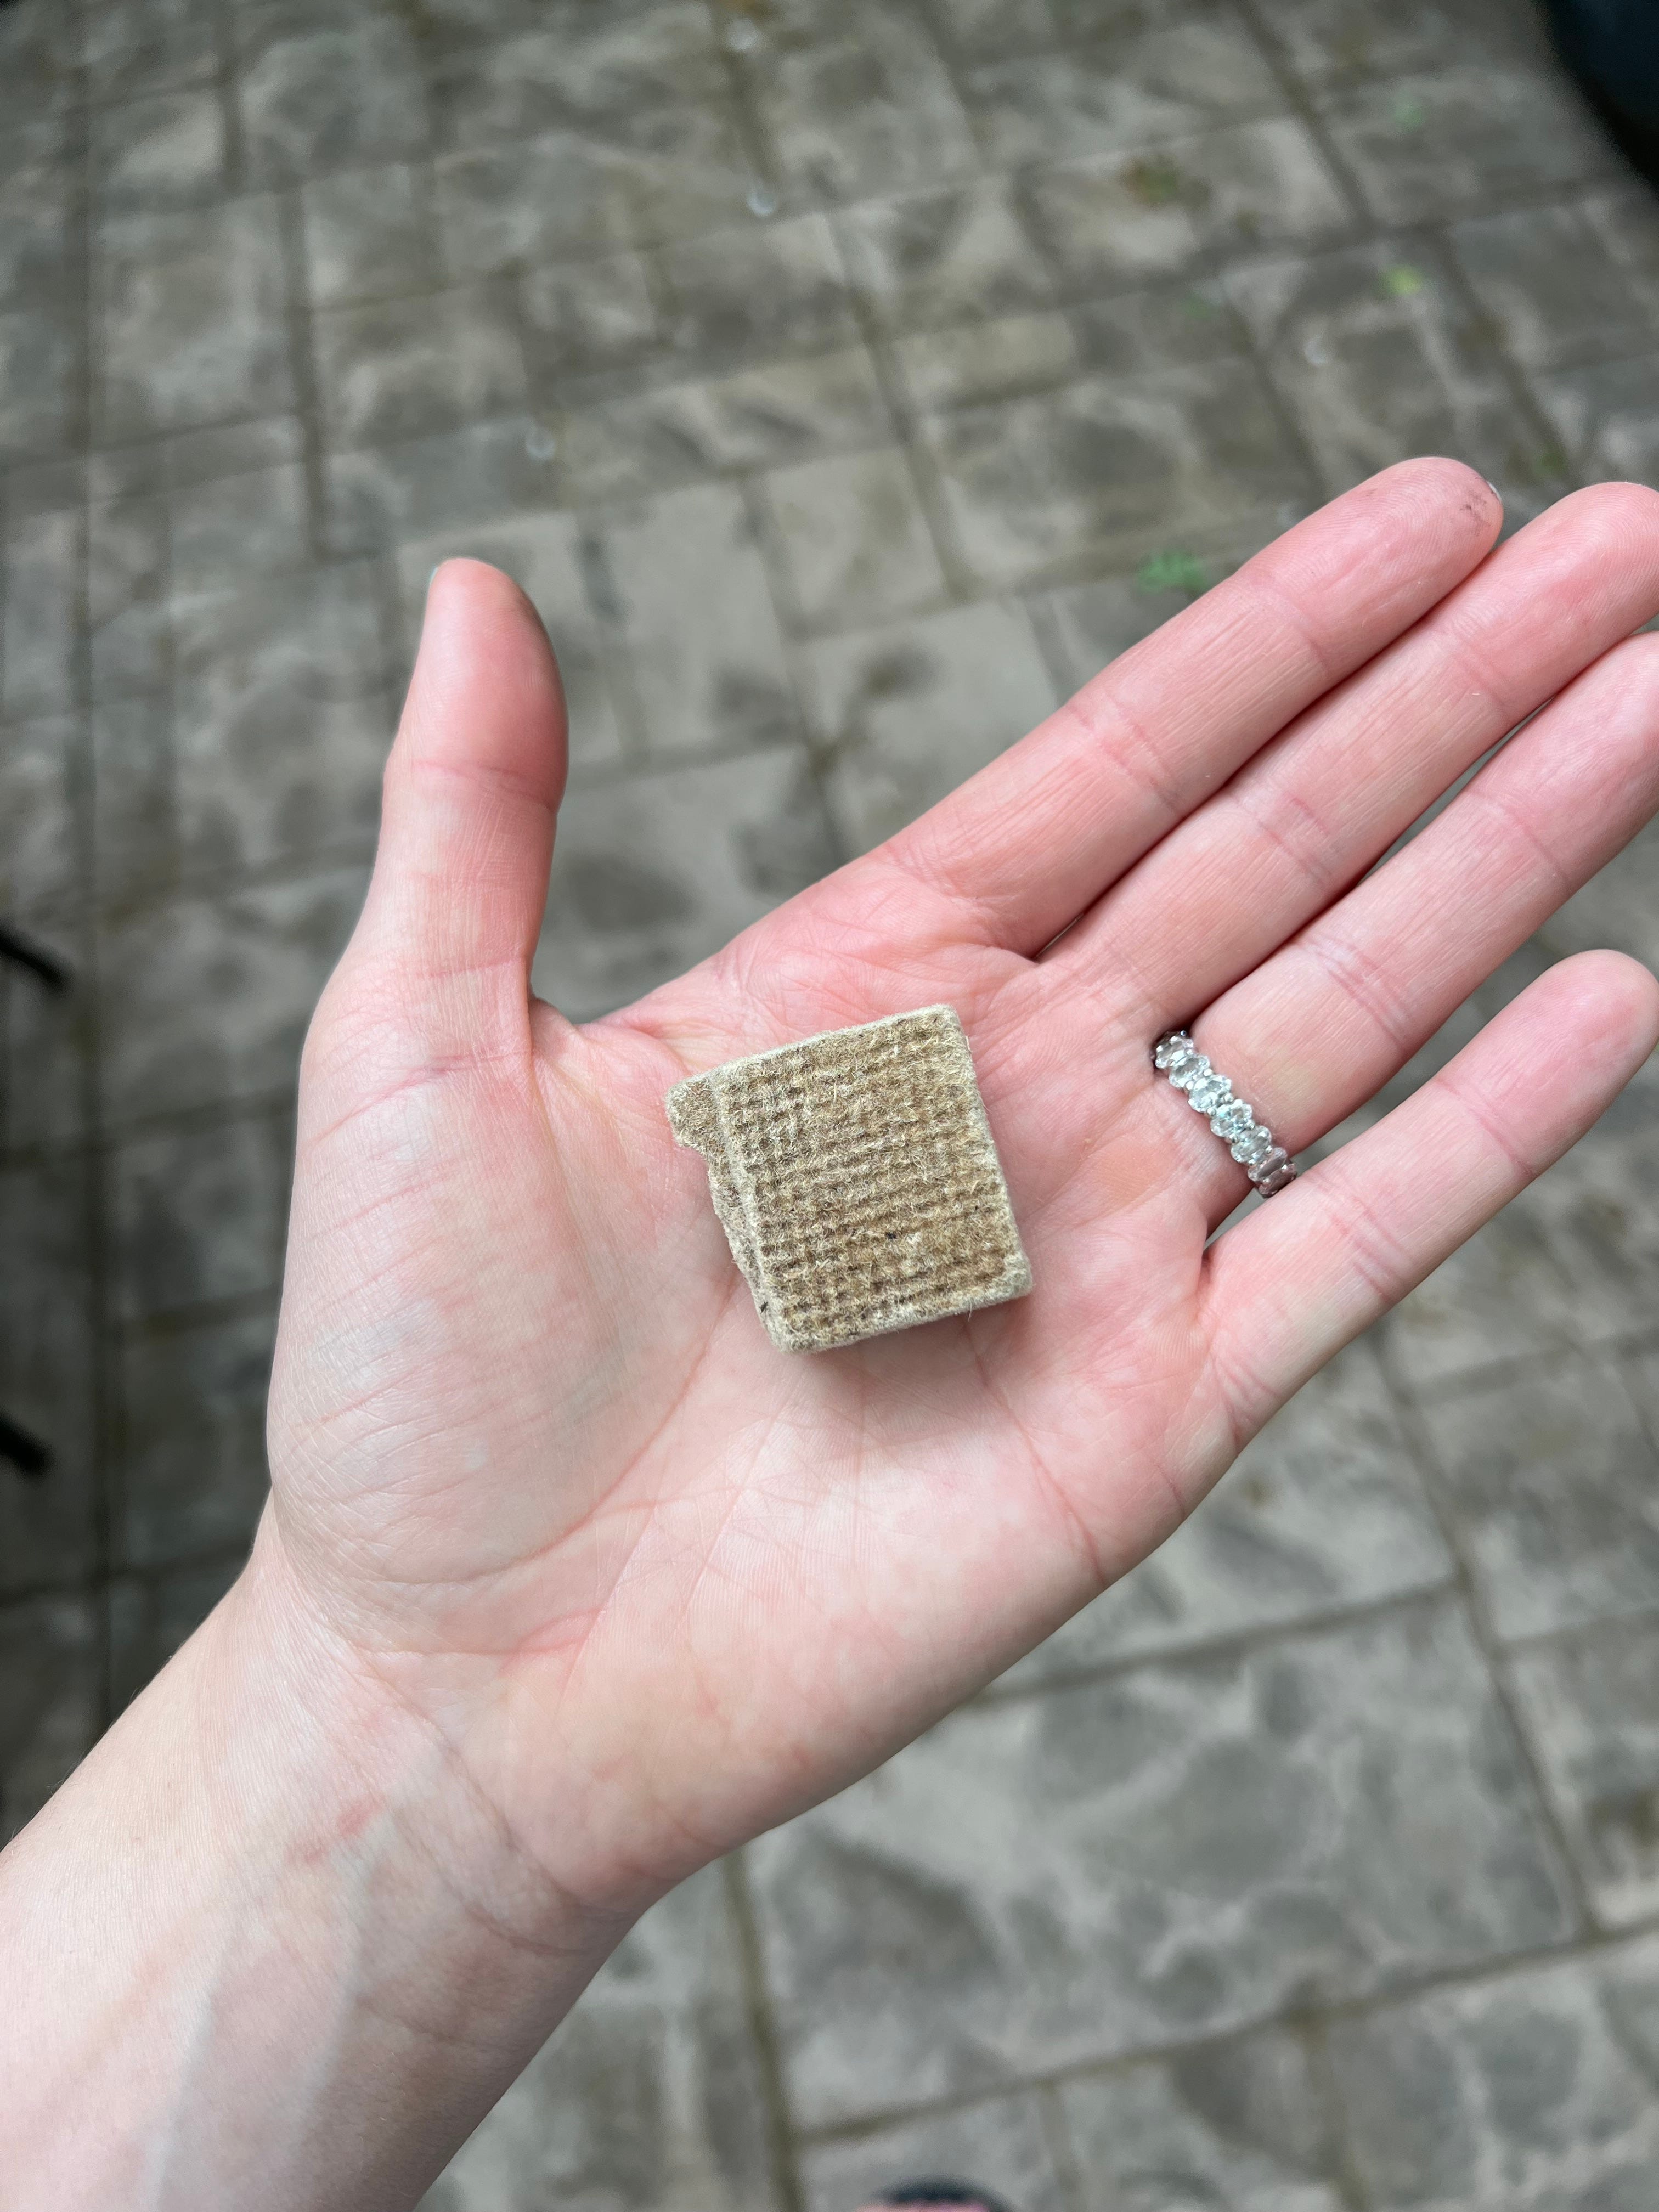
I take my poker and stir the charcoal around to help some of the ash clear from the bottom and clear the holes for airflow. From there I top off the charcoal with a few fresh pieces and grab a fire starter.
Firestarters are compact cubes or bundles of paper material, wool, and vegetable wax. They burn for 5-10 minutes and help get those coals lit. Having a natural, odorless, and flavorless one is something I always look for. I have been using Fire & Flavor for years and love them.
Our grill is open, filled with charcoal, and we have our firestarters. Next, we need to decide what type of fire we are going to start. By type I mean will we be cooking over direct heat or do we also need a side for indirect cooking?
Direct heat/grilling: Items directly over a flame or hot coals. Good for fast cooking and getting a great char. Think items like fish, chops, and veggies. All items that cook quickly.
Indirect heat/grilling: Placing an item to one side of our grill without a direct flame or hot coals under it. This is great for large items that take longer to cook. Usually the lid is closed and our grill works like an oven. When an item is moved over to our indirect heat side we don’t have to worry about it burning or getting too dark. This is also a safe spot to move anything when you have a flare up.
If I were going to cook everything super fast over high heat, I would place my fire starter in the center of my charcoal. If I need a section for indirect grilling, I nestle it into the charcoal over to one side. That side will light first and get hot and the other side will stay unlit. Eventually, the fire will spread over to the other side but this takes a good amount of time.
Where ever you nestle your fire starter, light it and take a few small pieces of charcoal and build a little log cabin over the starter. Think Lincoln Logs. Those stacked pieces will be directly under the flame and that’s what will get the whole thing going. Be careful not to smother the fire starter because it needs air holes. Open your bottom vent fully and don’t touch it for about 15 minutes, until the fire starter burns out.
When the fire starter stops burning you will be left with a nice bundle of hot coals. From there use your poker to distribute the hot coals, either to one side or all around the middle.
This is where patience comes in…it will take a good 40+ minutes for your grill to get HOT. If you have time, close the lid and open your top vent all the way. If you don’t have a ton of time, leave the lid open and things will happen faster. More oxygen = more fire.
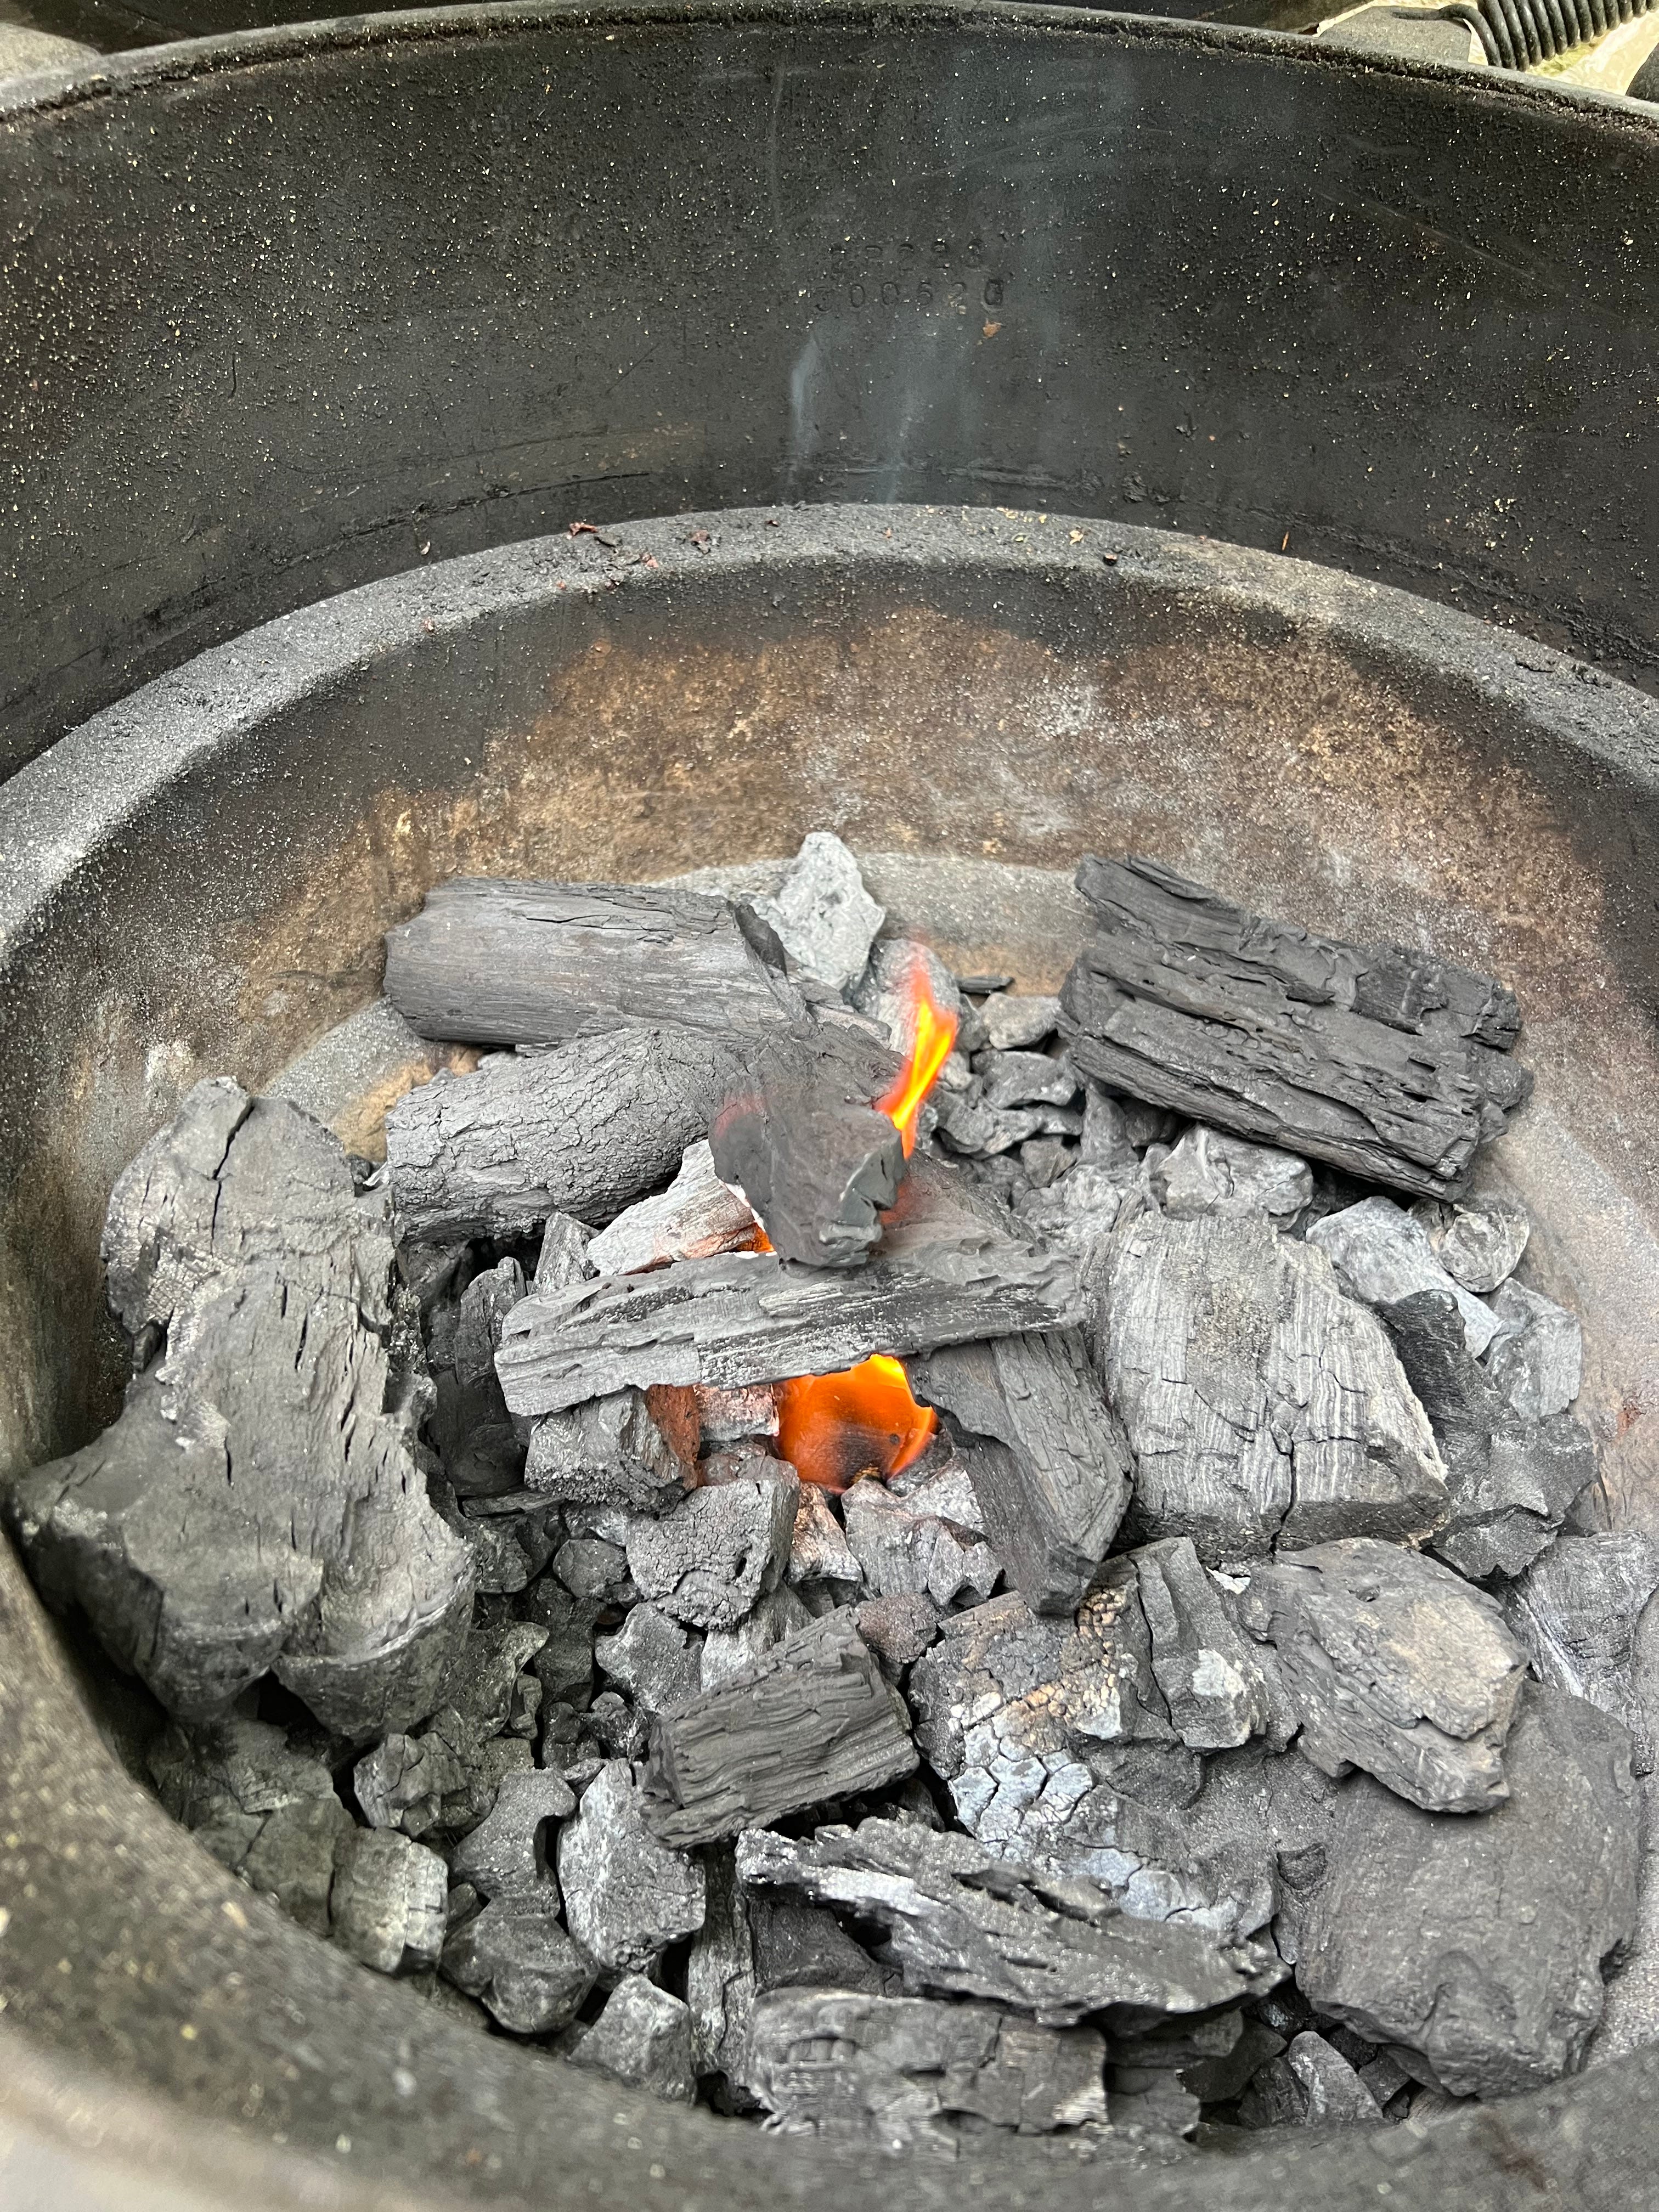
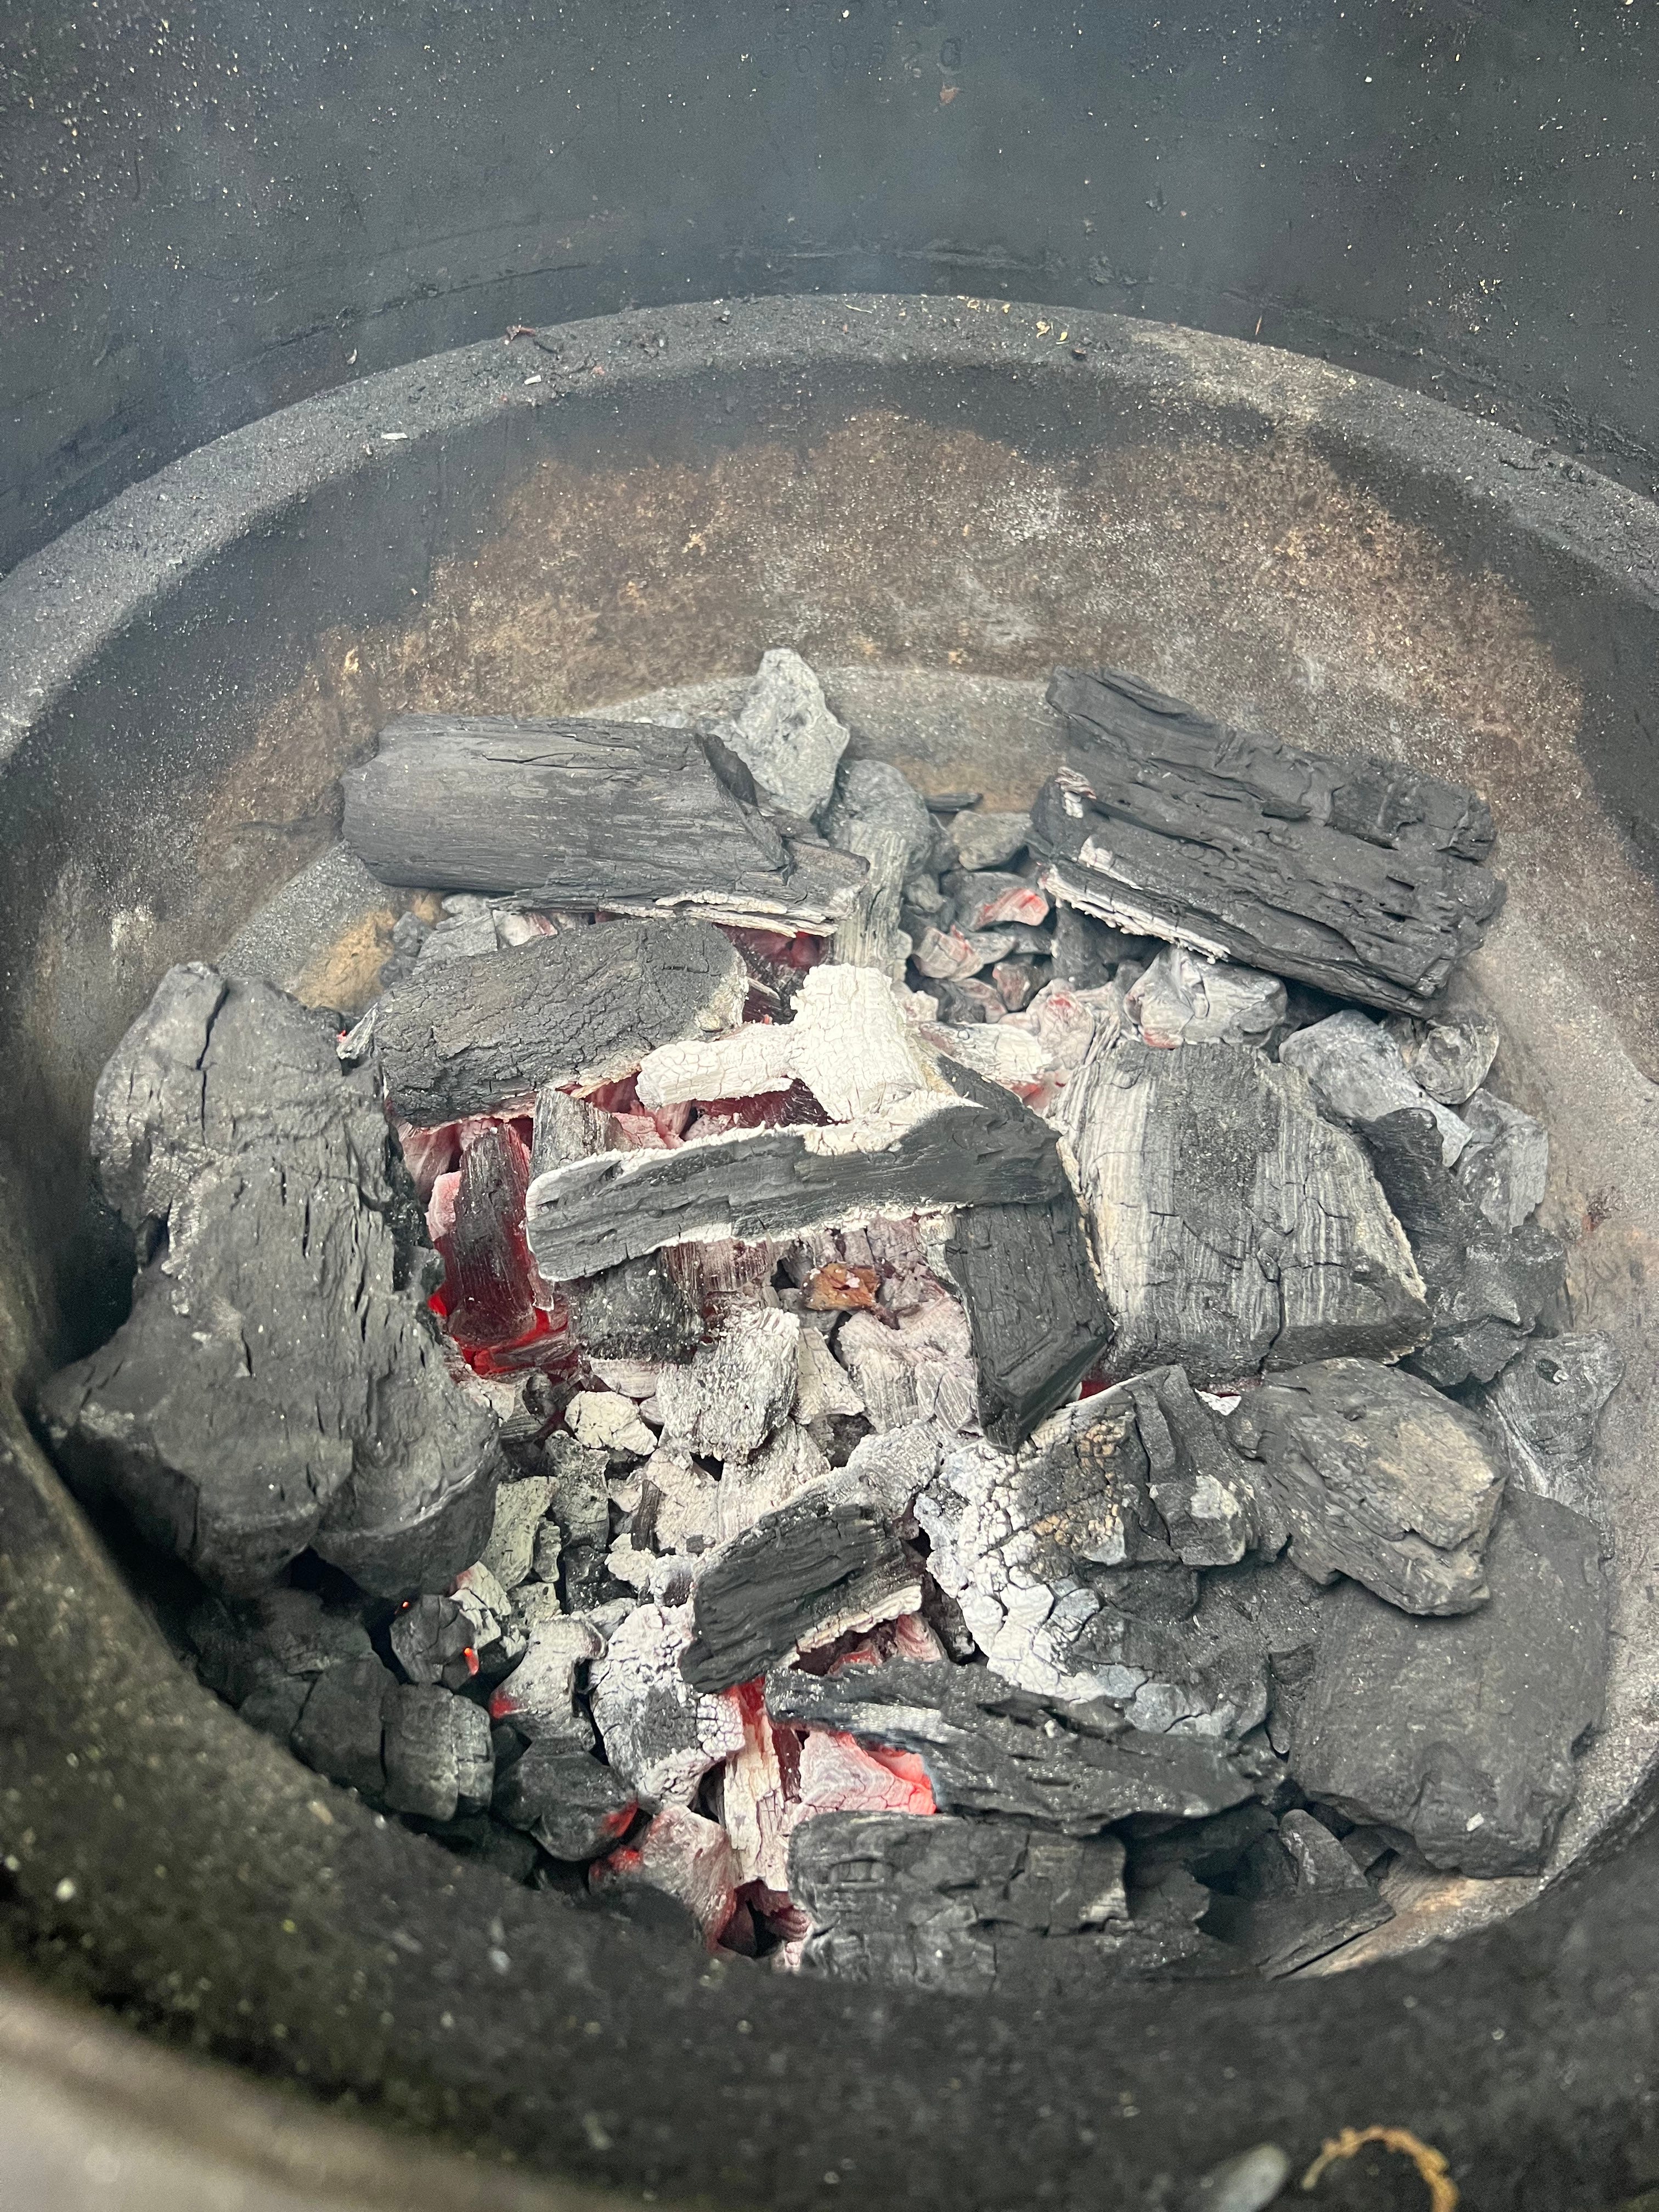
Below is a photo of the same fire as the picture above. I left it for longer than 15 minutes with the bottom vent fully open and the lid open. Maybe 30-40 minutes? I was inside prepping ingredients and forgot about it. You can see the original log cabin and red hot coals all around spreading from where the original firestarter was. Because I forgot about it and didn’t distribute the hot coals after the starter went out, the coals burned down right in the center and are hot hot hot. This isn’t an issue. All I did was use my poker to mix the hot coals with the unlit ones. Then after another little while, everything was ready to go.
Now onto our peppers. We are going to grill them over high direct heat. That can mean right over very hot coals or over an actual flame. Another reason I love lump charcoal, is those large lumps pieces of wood, burn like wood (because they are) and you can get a good fire going for some real char and sear action. So how do you know if your charcoal is hot? Hold your hand over it!
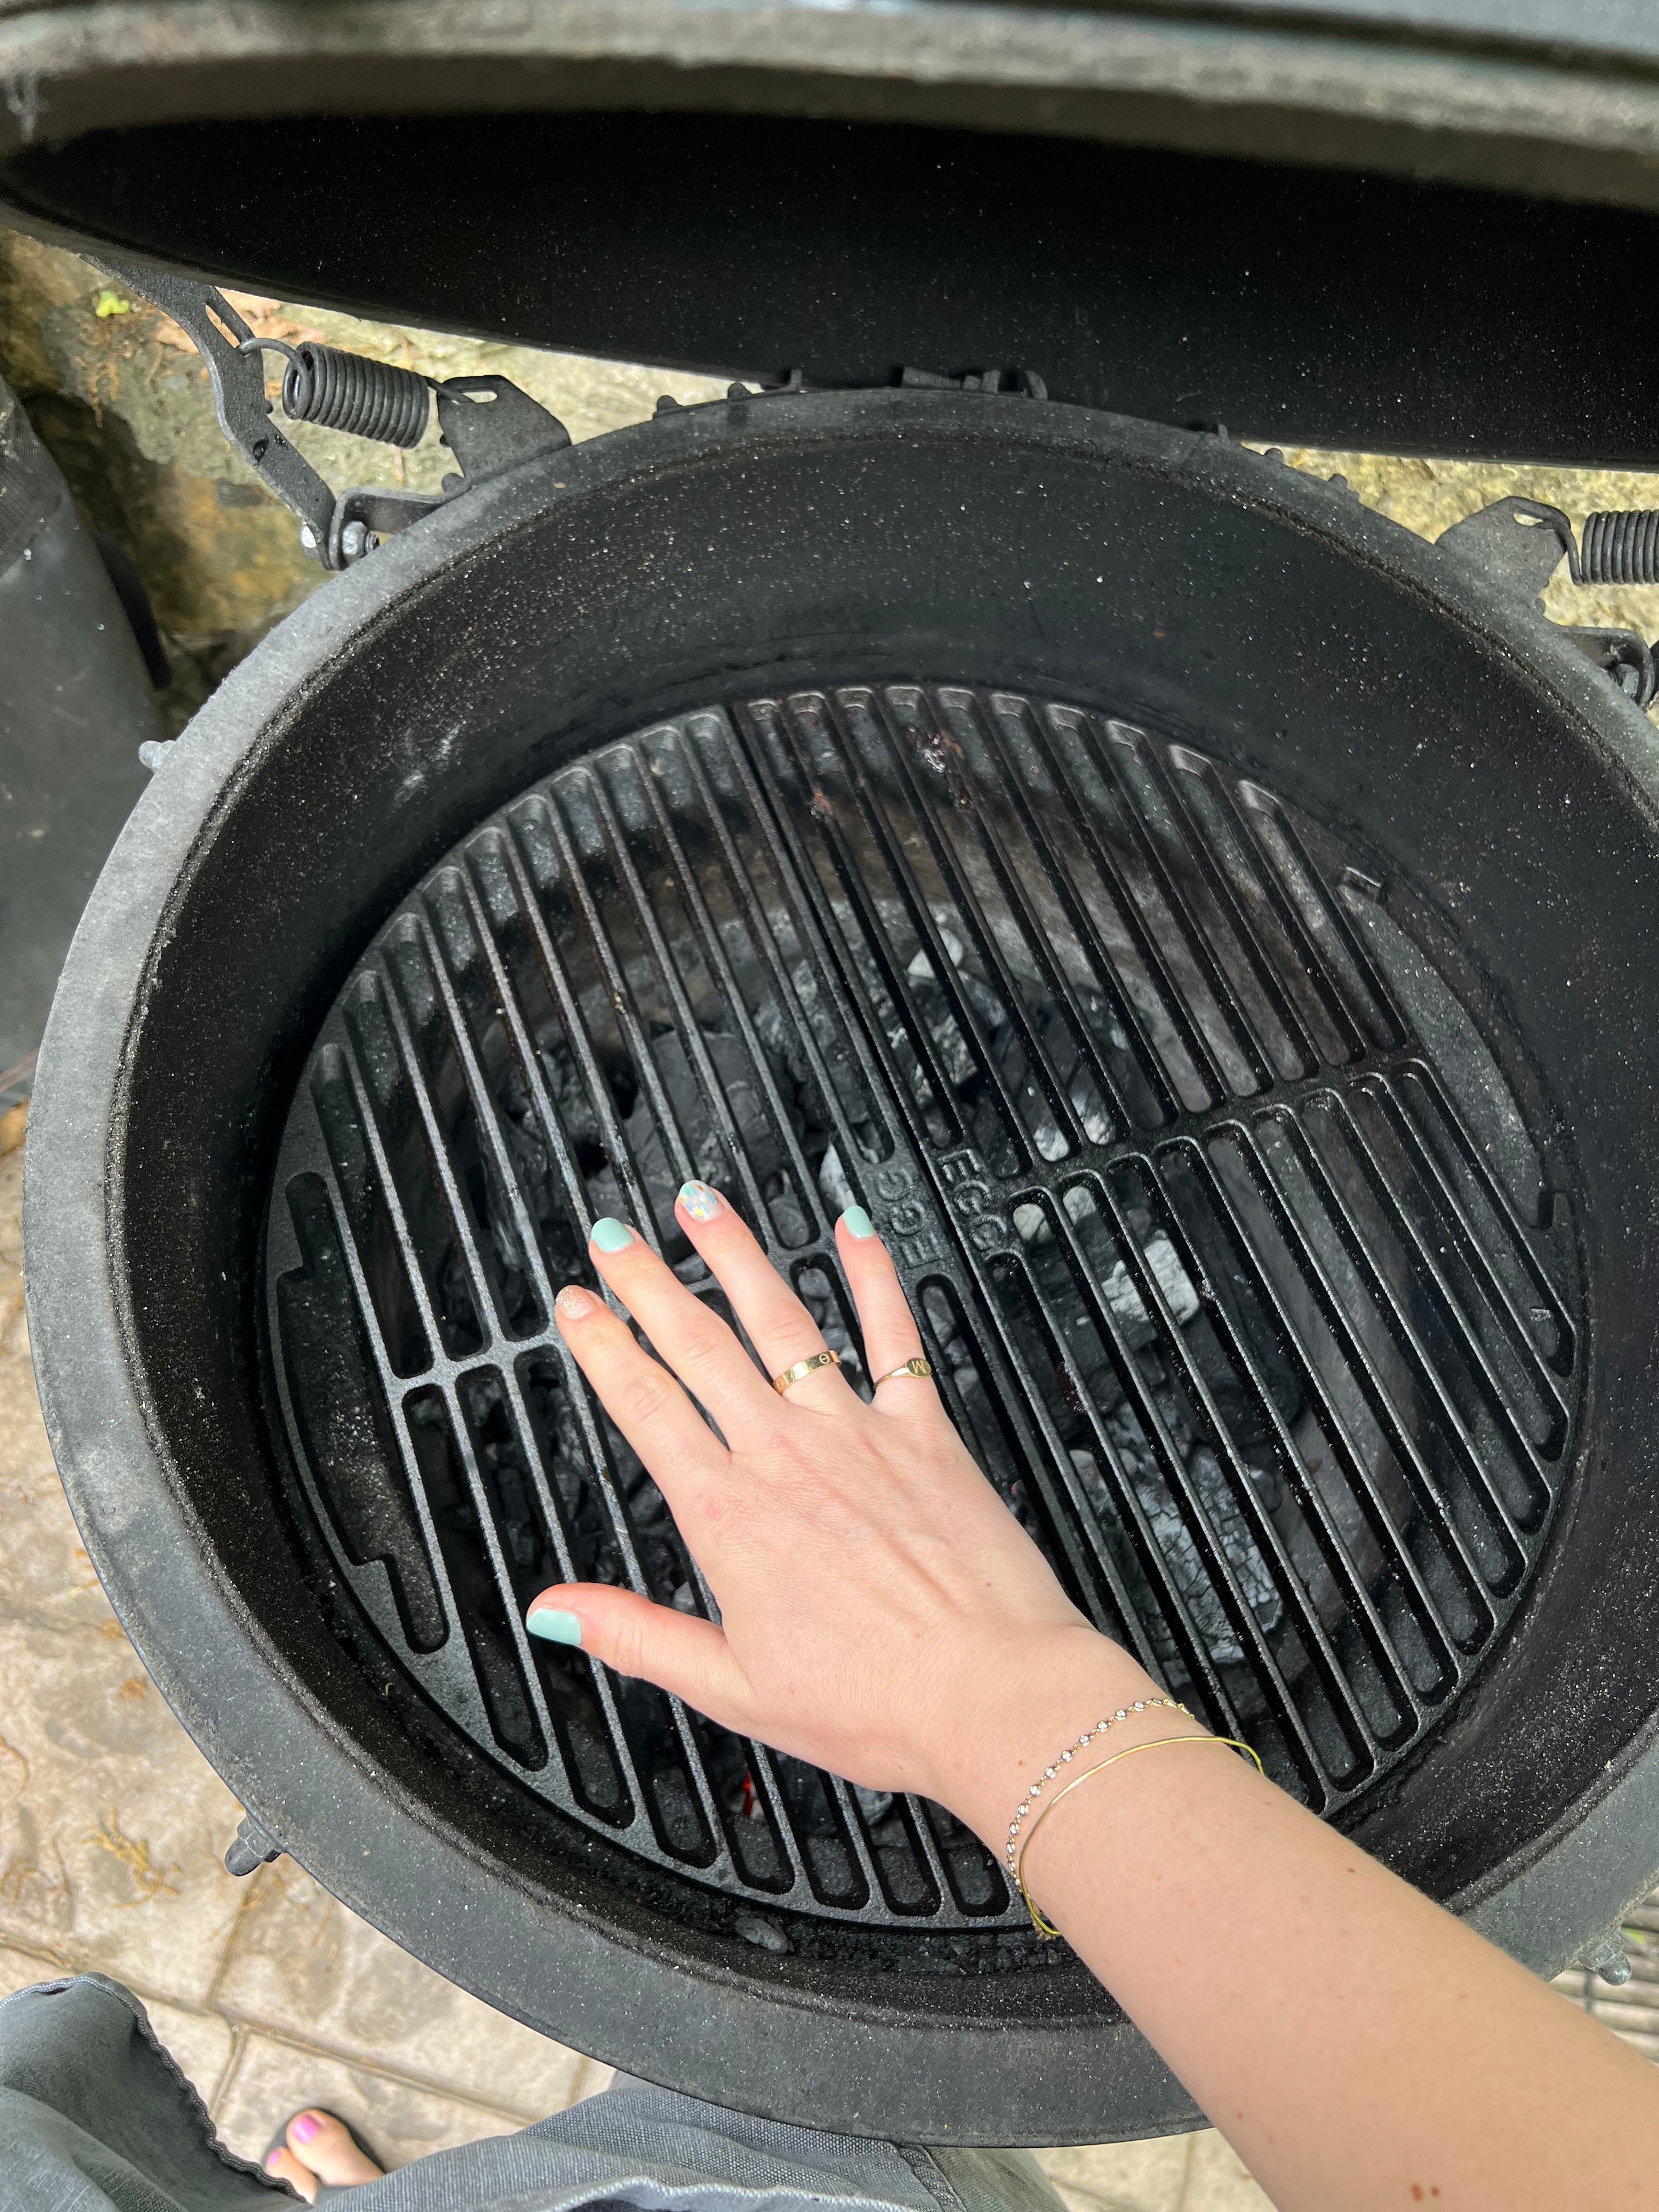
Don’t touch it, obviously, but hold your hand over and see where it’s hot. If you hold your hand in one spot and need to move it in about 3 seconds, it’s hot hot. If you are using a gas grill, turn it on medium-high.
We are going to char and blacken our bell peppers. The time it takes to do this will depend on how hot your grill is but you can not mess this up. I can promise you that with 100% certainty. Throw your peppers on your grill and cook them, turning as needed, until all sides are blackened.
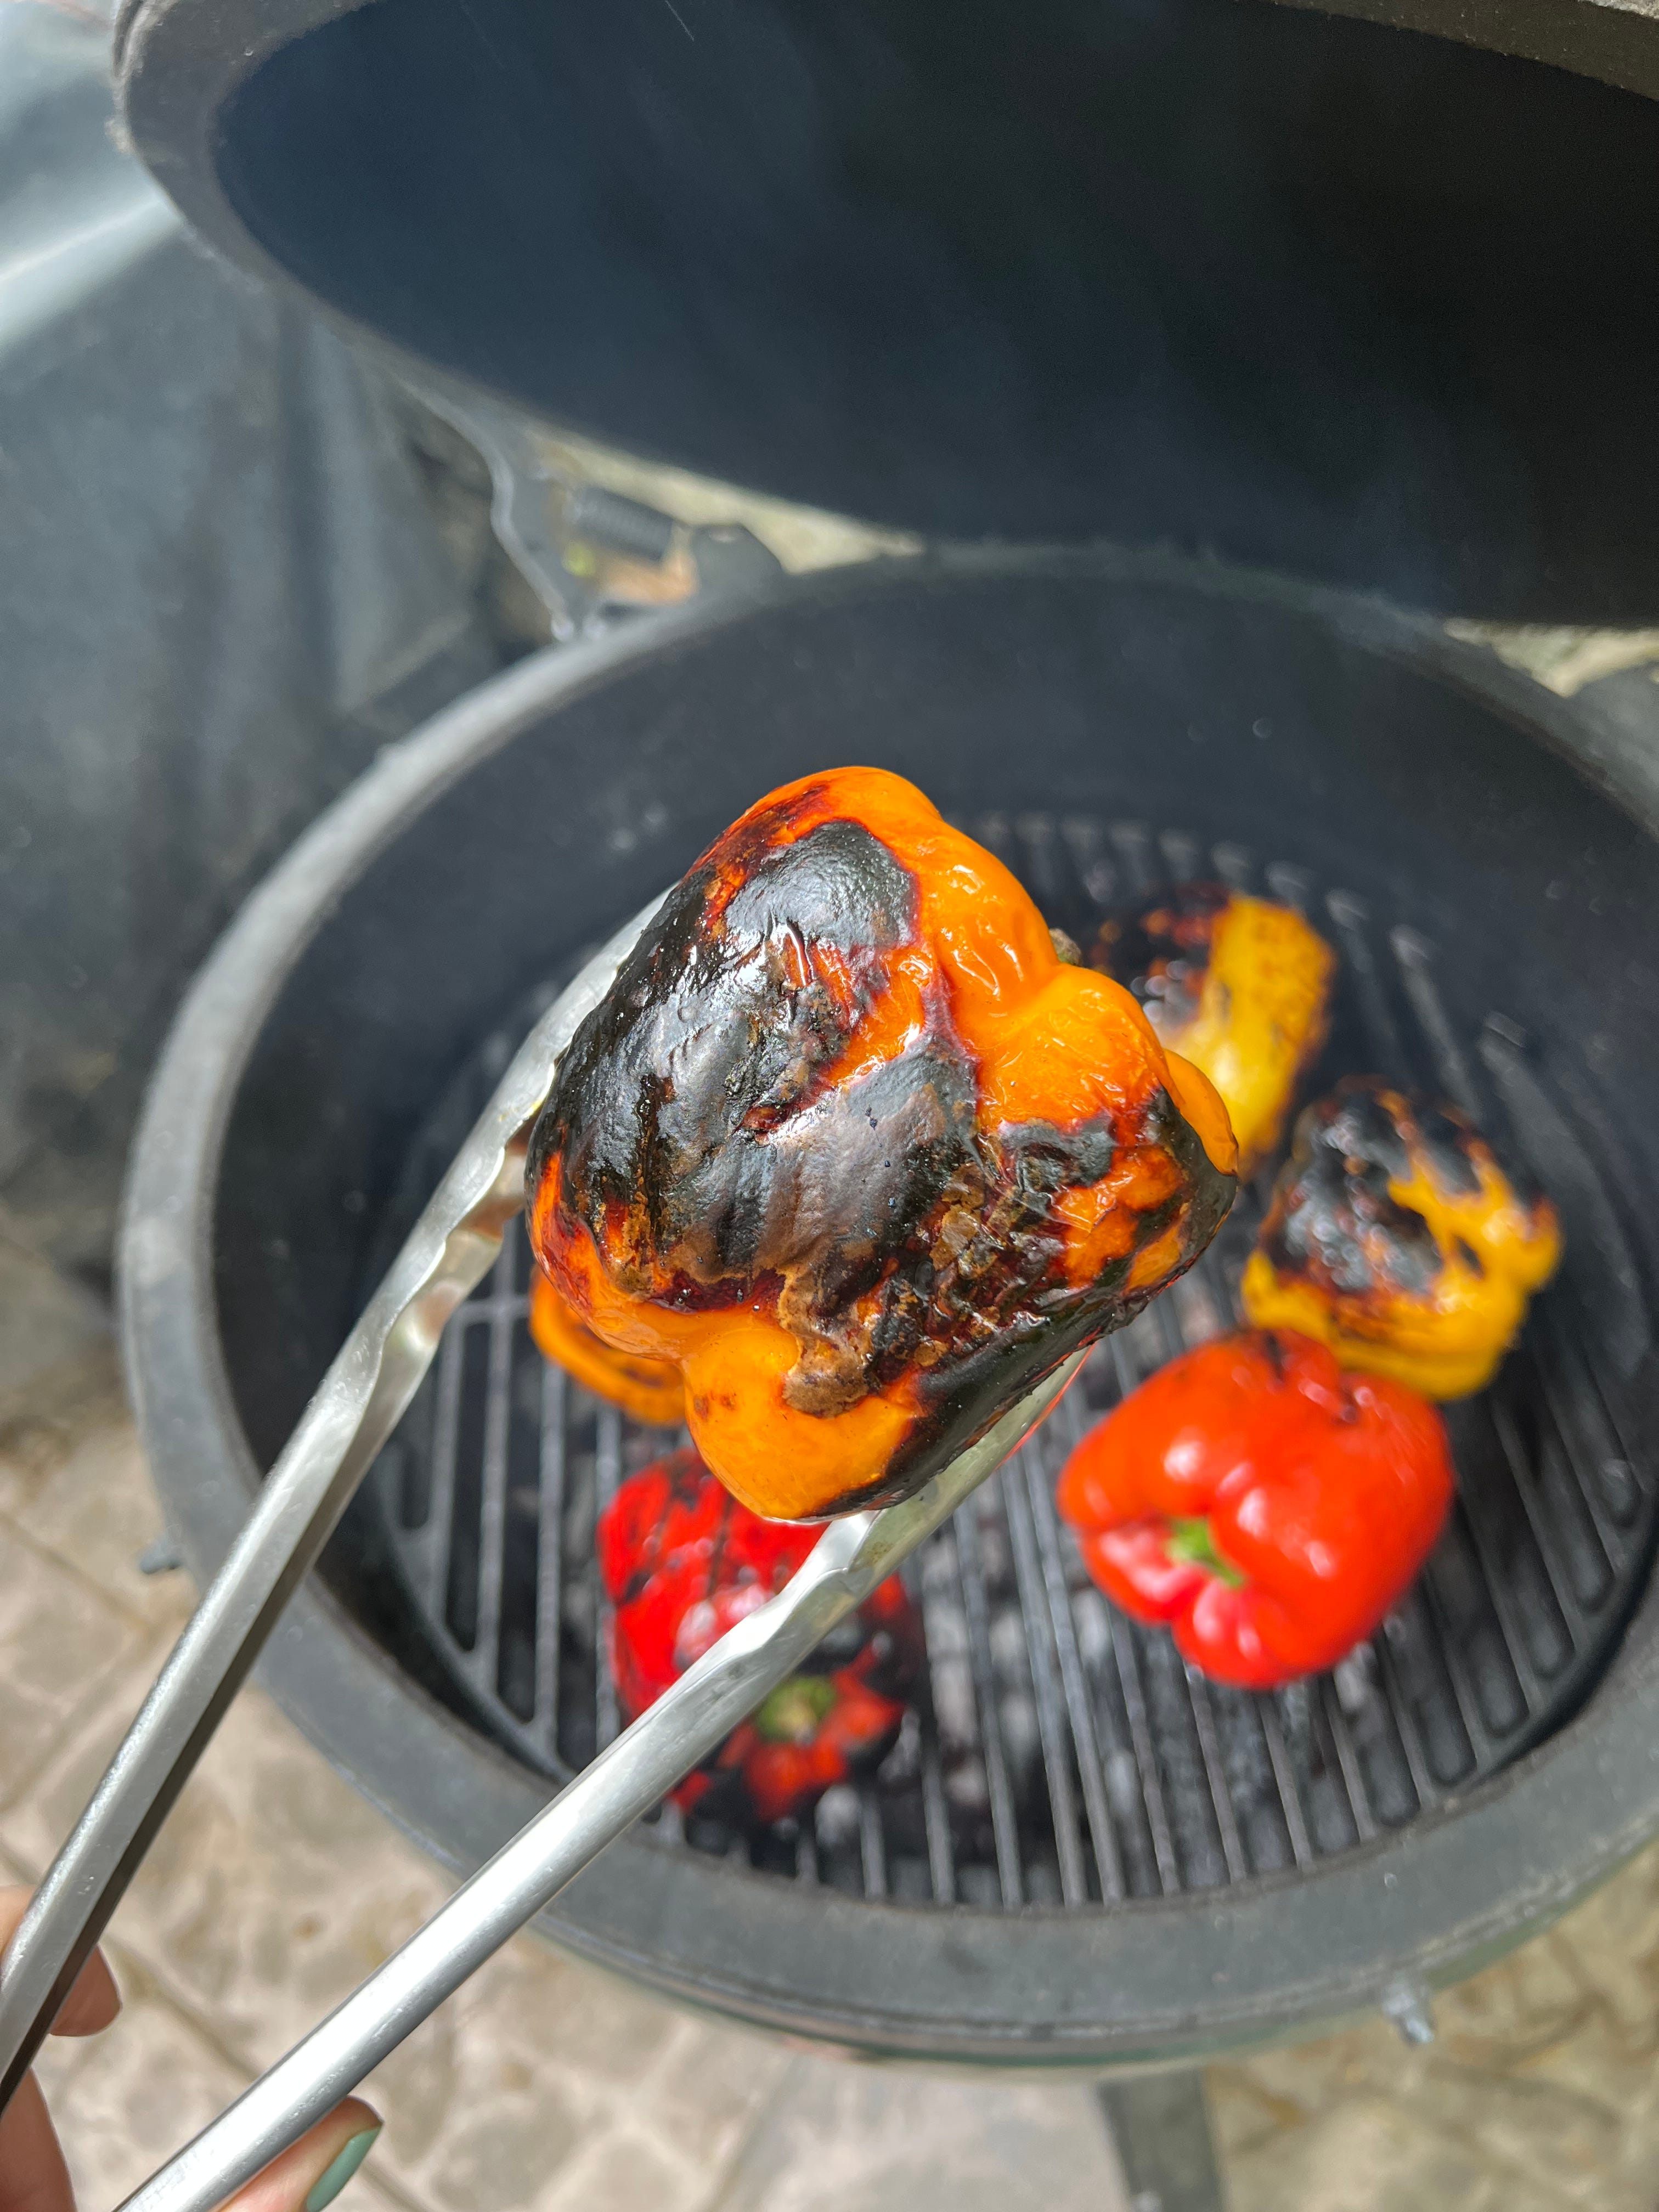
I like to do the sides, bottom, and top. As they cook, the pepper flesh starts to soften and the skin starts to blister, peel away, and char. You can see it happening on the pepper above.
Once they are all charred up, remove them from the grill and head inside. That’s all we are doing on the grill today. I will admit it’s a lot of work to set up a charcoal grill just to grill peppers. It is worth it for the smoky flavors but a gas grill is great for this recipe and alternatively, you can char the peppers inside. Throw them under your broiler until they blacken or directly over the flame of a gas burner on your stove. However you do it, just make sure those peppers are really charred.
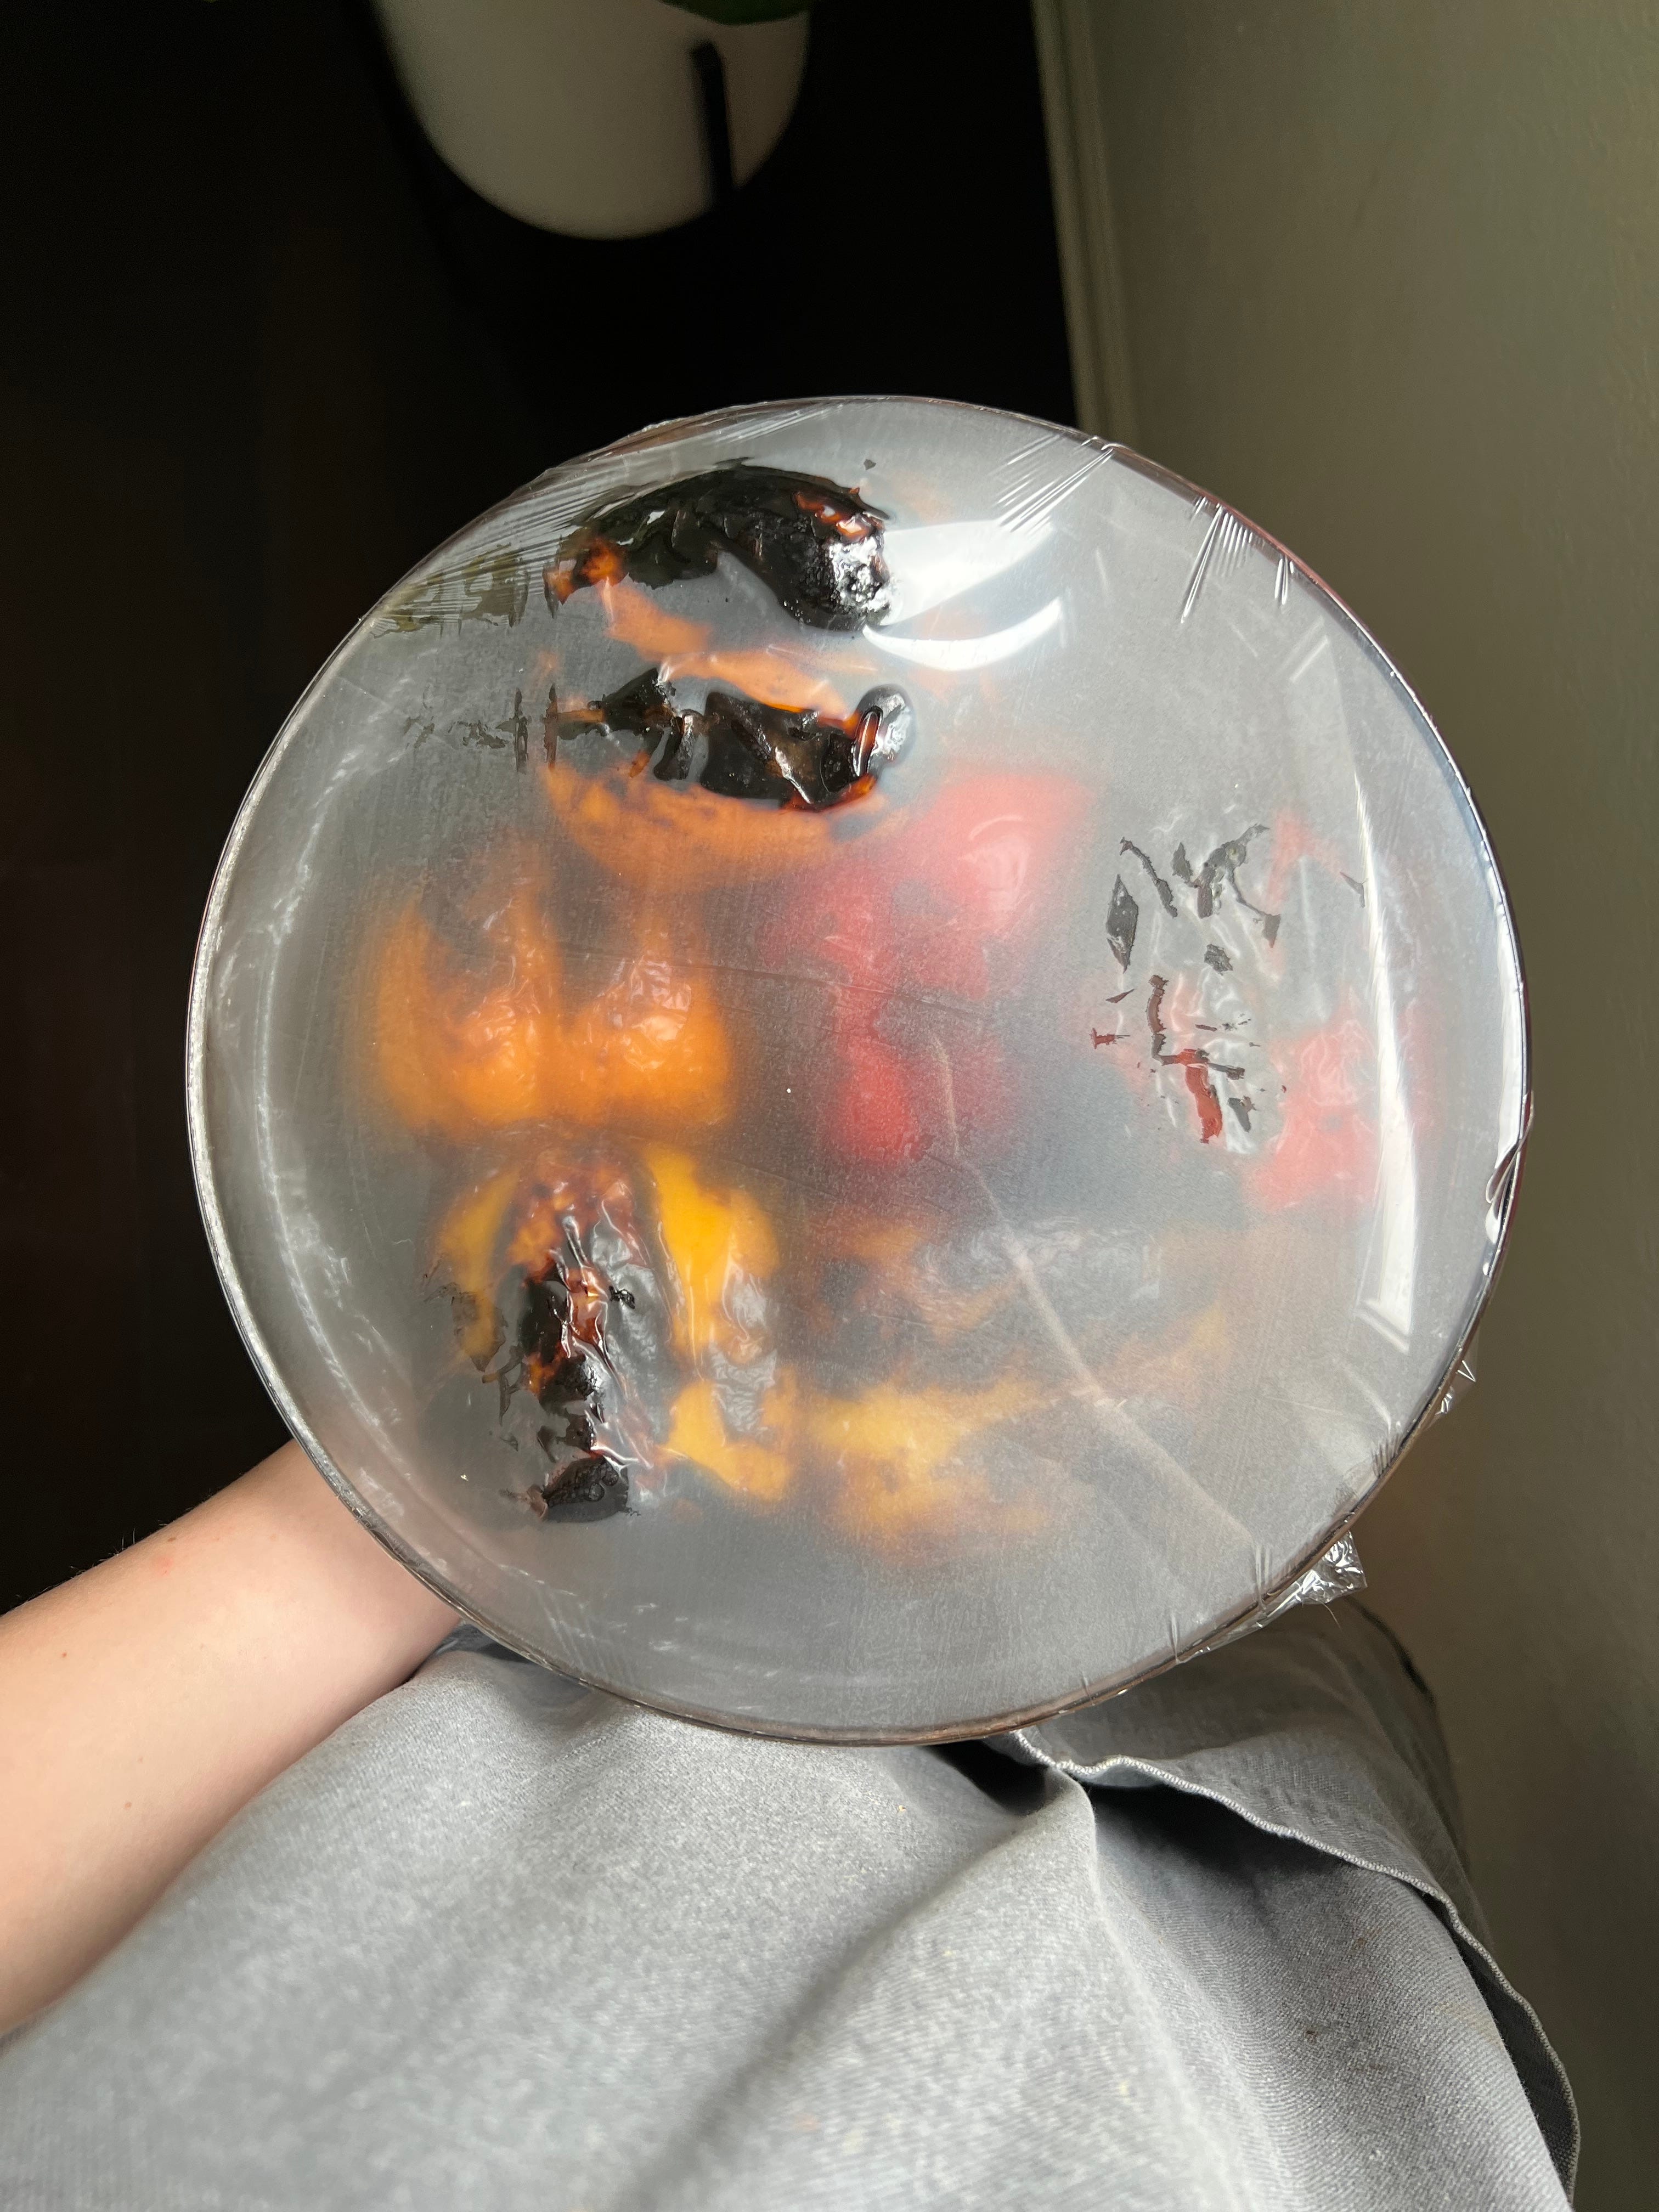
Back inside we are going to let the peppers cool in a bowl covered in plastic wrap. The plastic wrap traps the steam from the hot peppers and helps loosen any skin that is still stuck onto the peppers. Let them sit in the bowl and steam for at least 15 minutes, or just forget about them for a while, and prep the marinade.
Into a smaller bowl, we are going to mash an anchovy into a paste. We have done this before and it is very easy with the back of a spoon and kosher salt. The grit from the salt combined with the pressure from your spoon will break the anchovy down.

Everything else goes into the bowl. A sliced garlic clove is important for subtle garlic flavors. Grating it made it too garlicky. Chives, basil, vinegar, olive oil, and done! By this point, our peppers are done steaming and ready to be peeled.
We have two options for peeling the peppers. The first is to use your hand and pick off the skin.

Our second option, and the way I prefer, is using a paring knife and running it along the flesh to peel the skin off. I find the skin comes off in bigger pieces and the whole peeling process is speedier.
Okay, now the hard part is done. The only thing left to do is slice. Inside our peppers, we have seeds, thin strings of membrane that run along the side, and some liquid. Cut the peppers in half and use your knife to remove the seeds and membrane and slice the peppers into thin strips. Add the strips to your marinade and let them sit for 30 minutes.
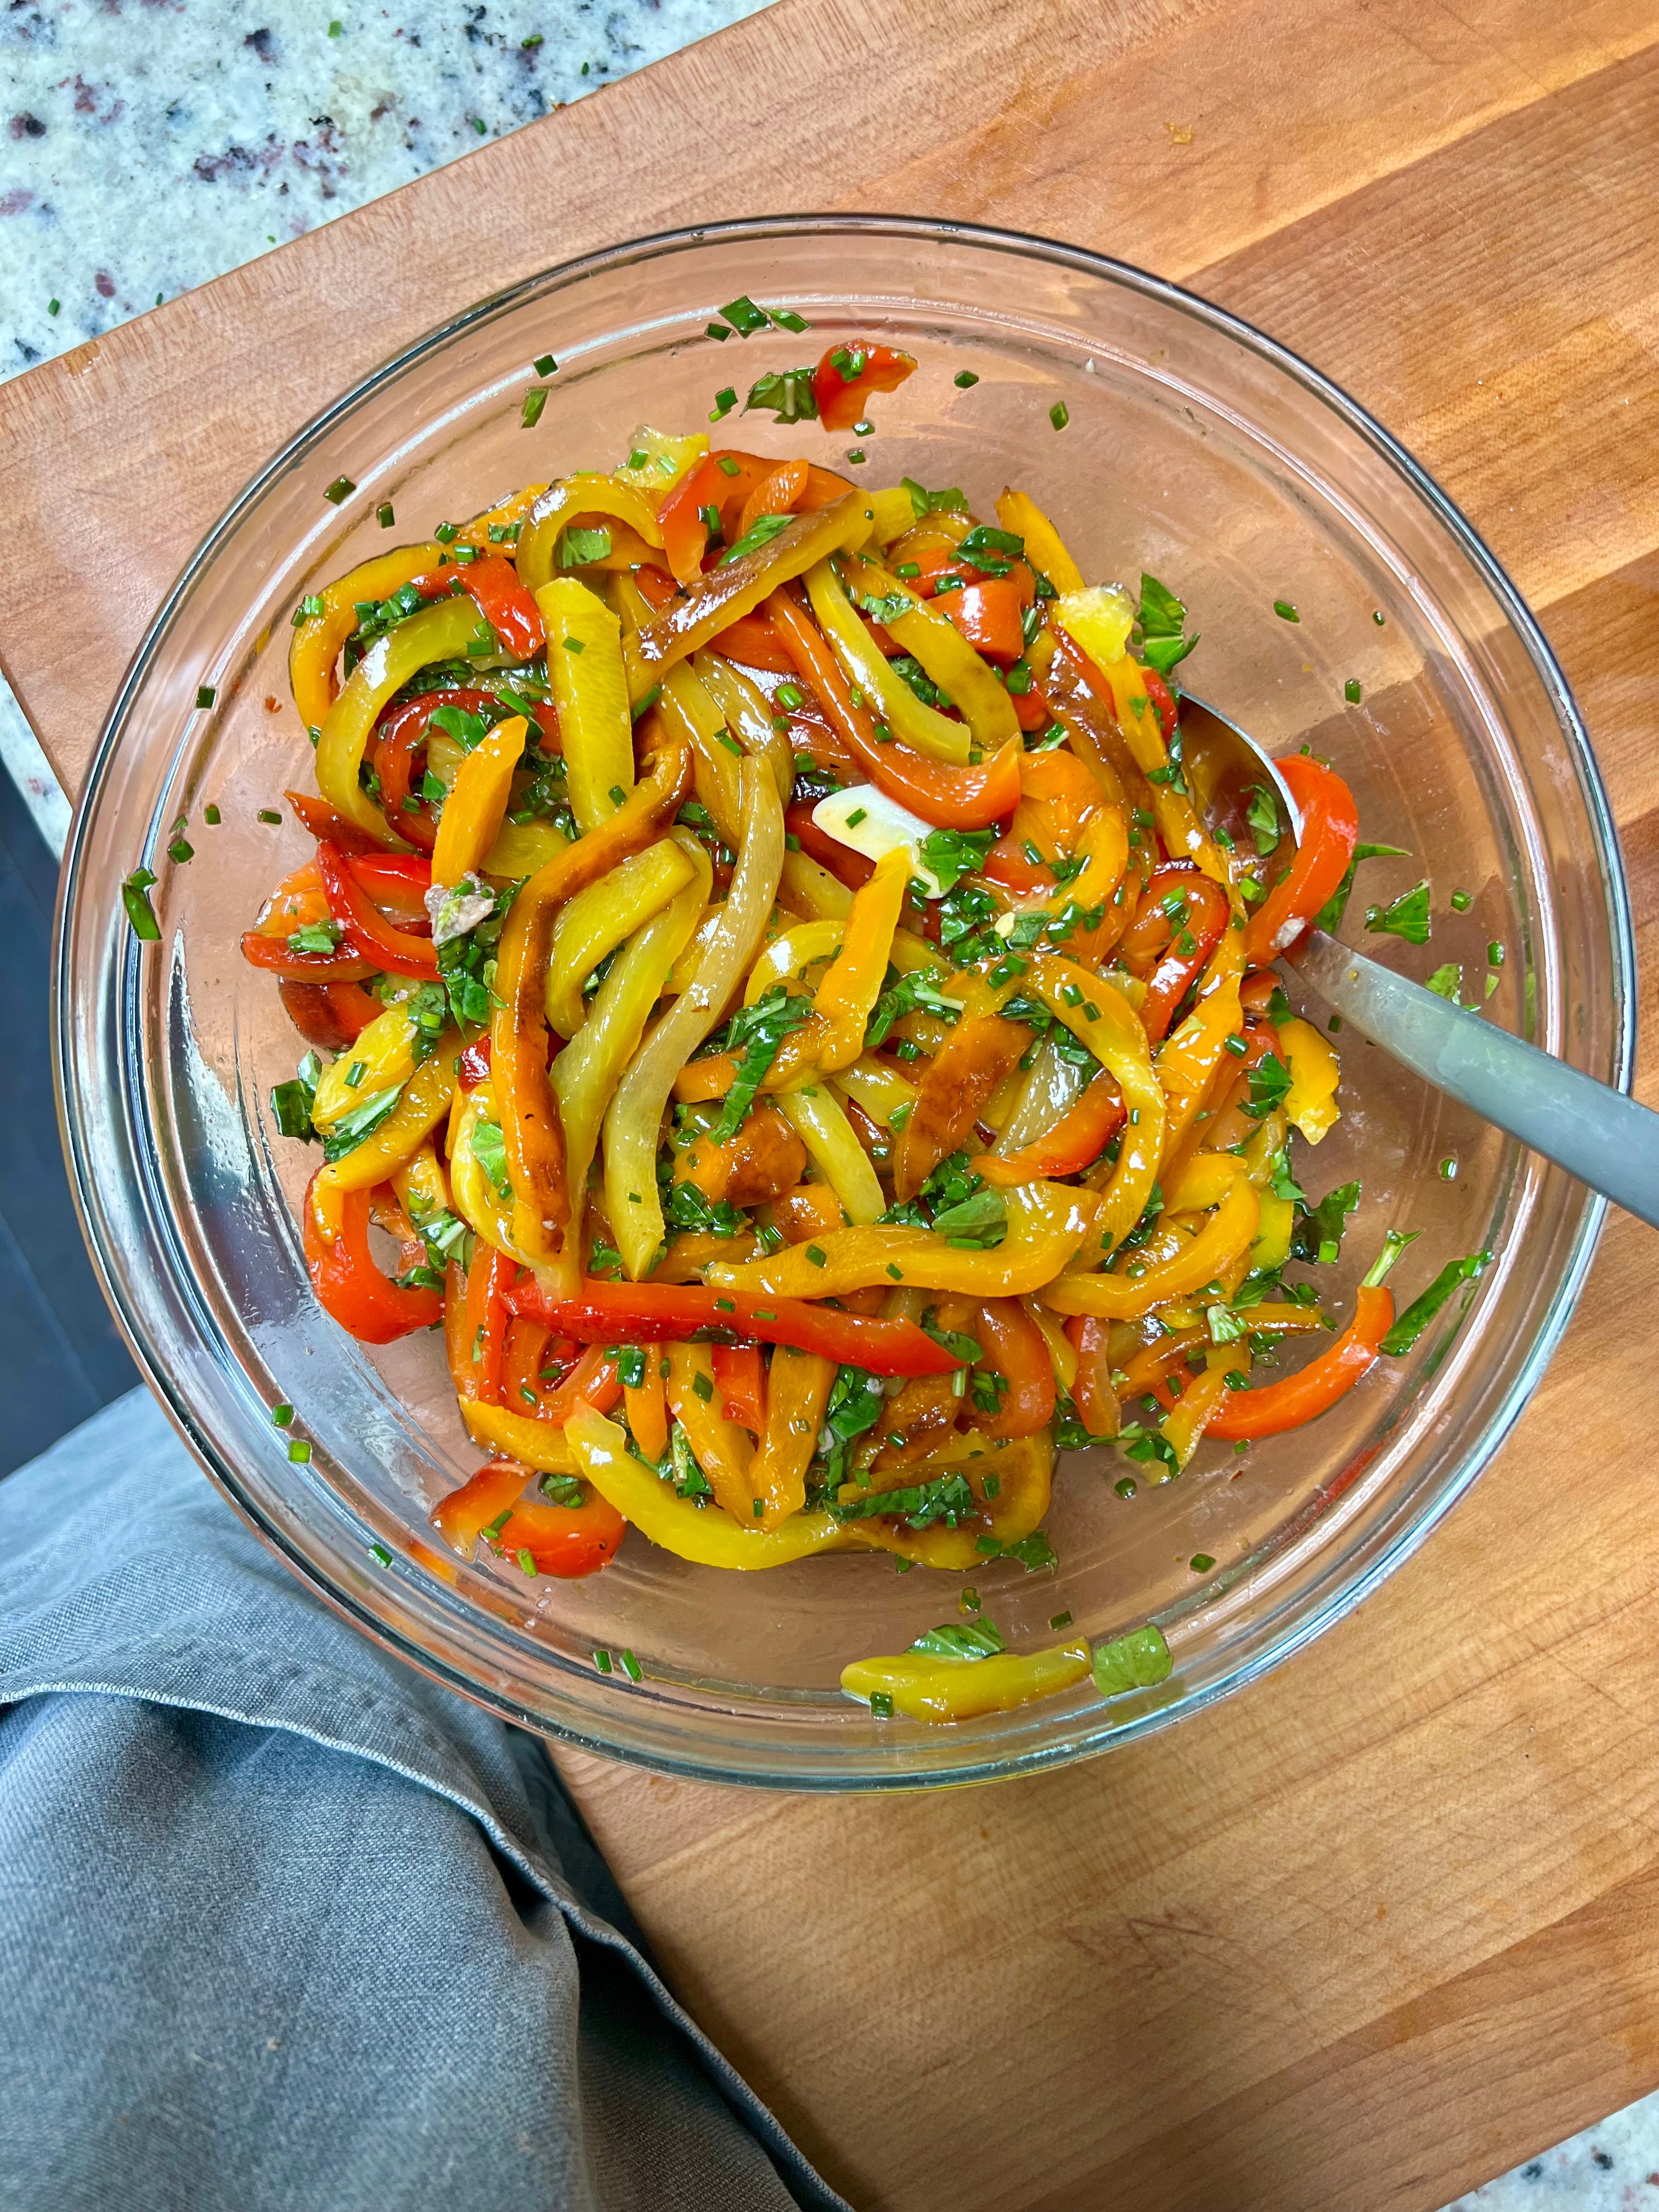
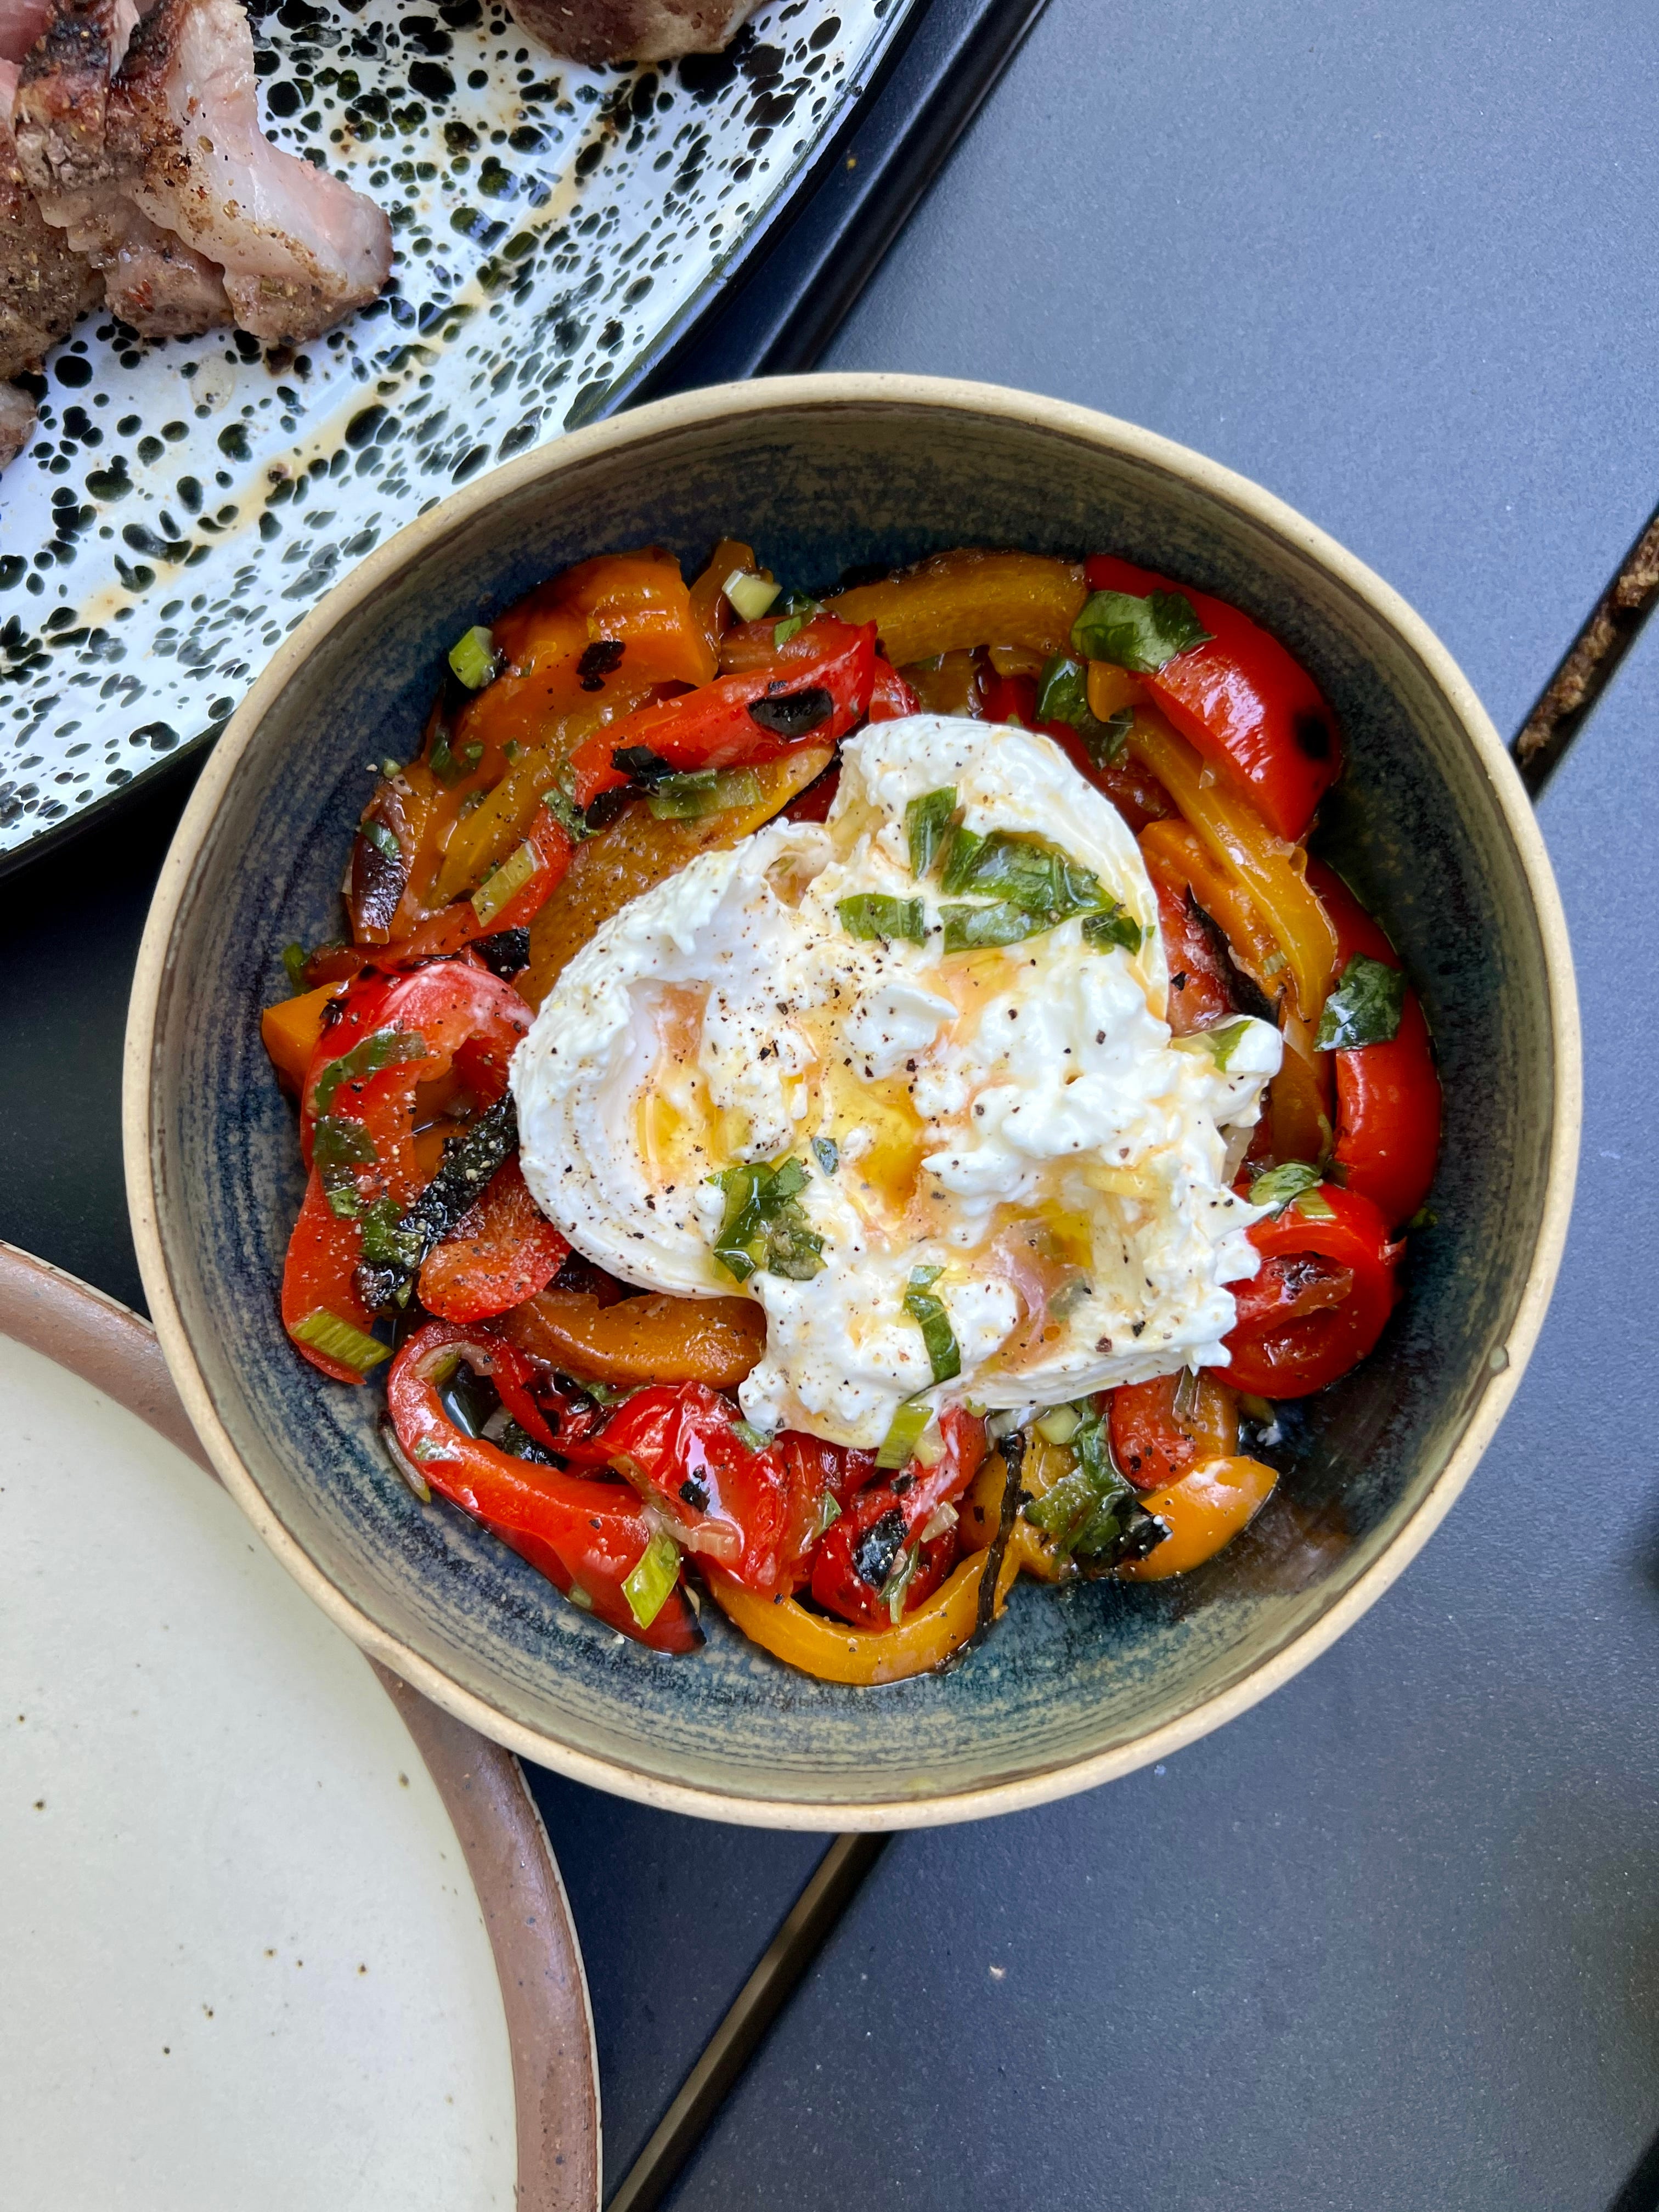
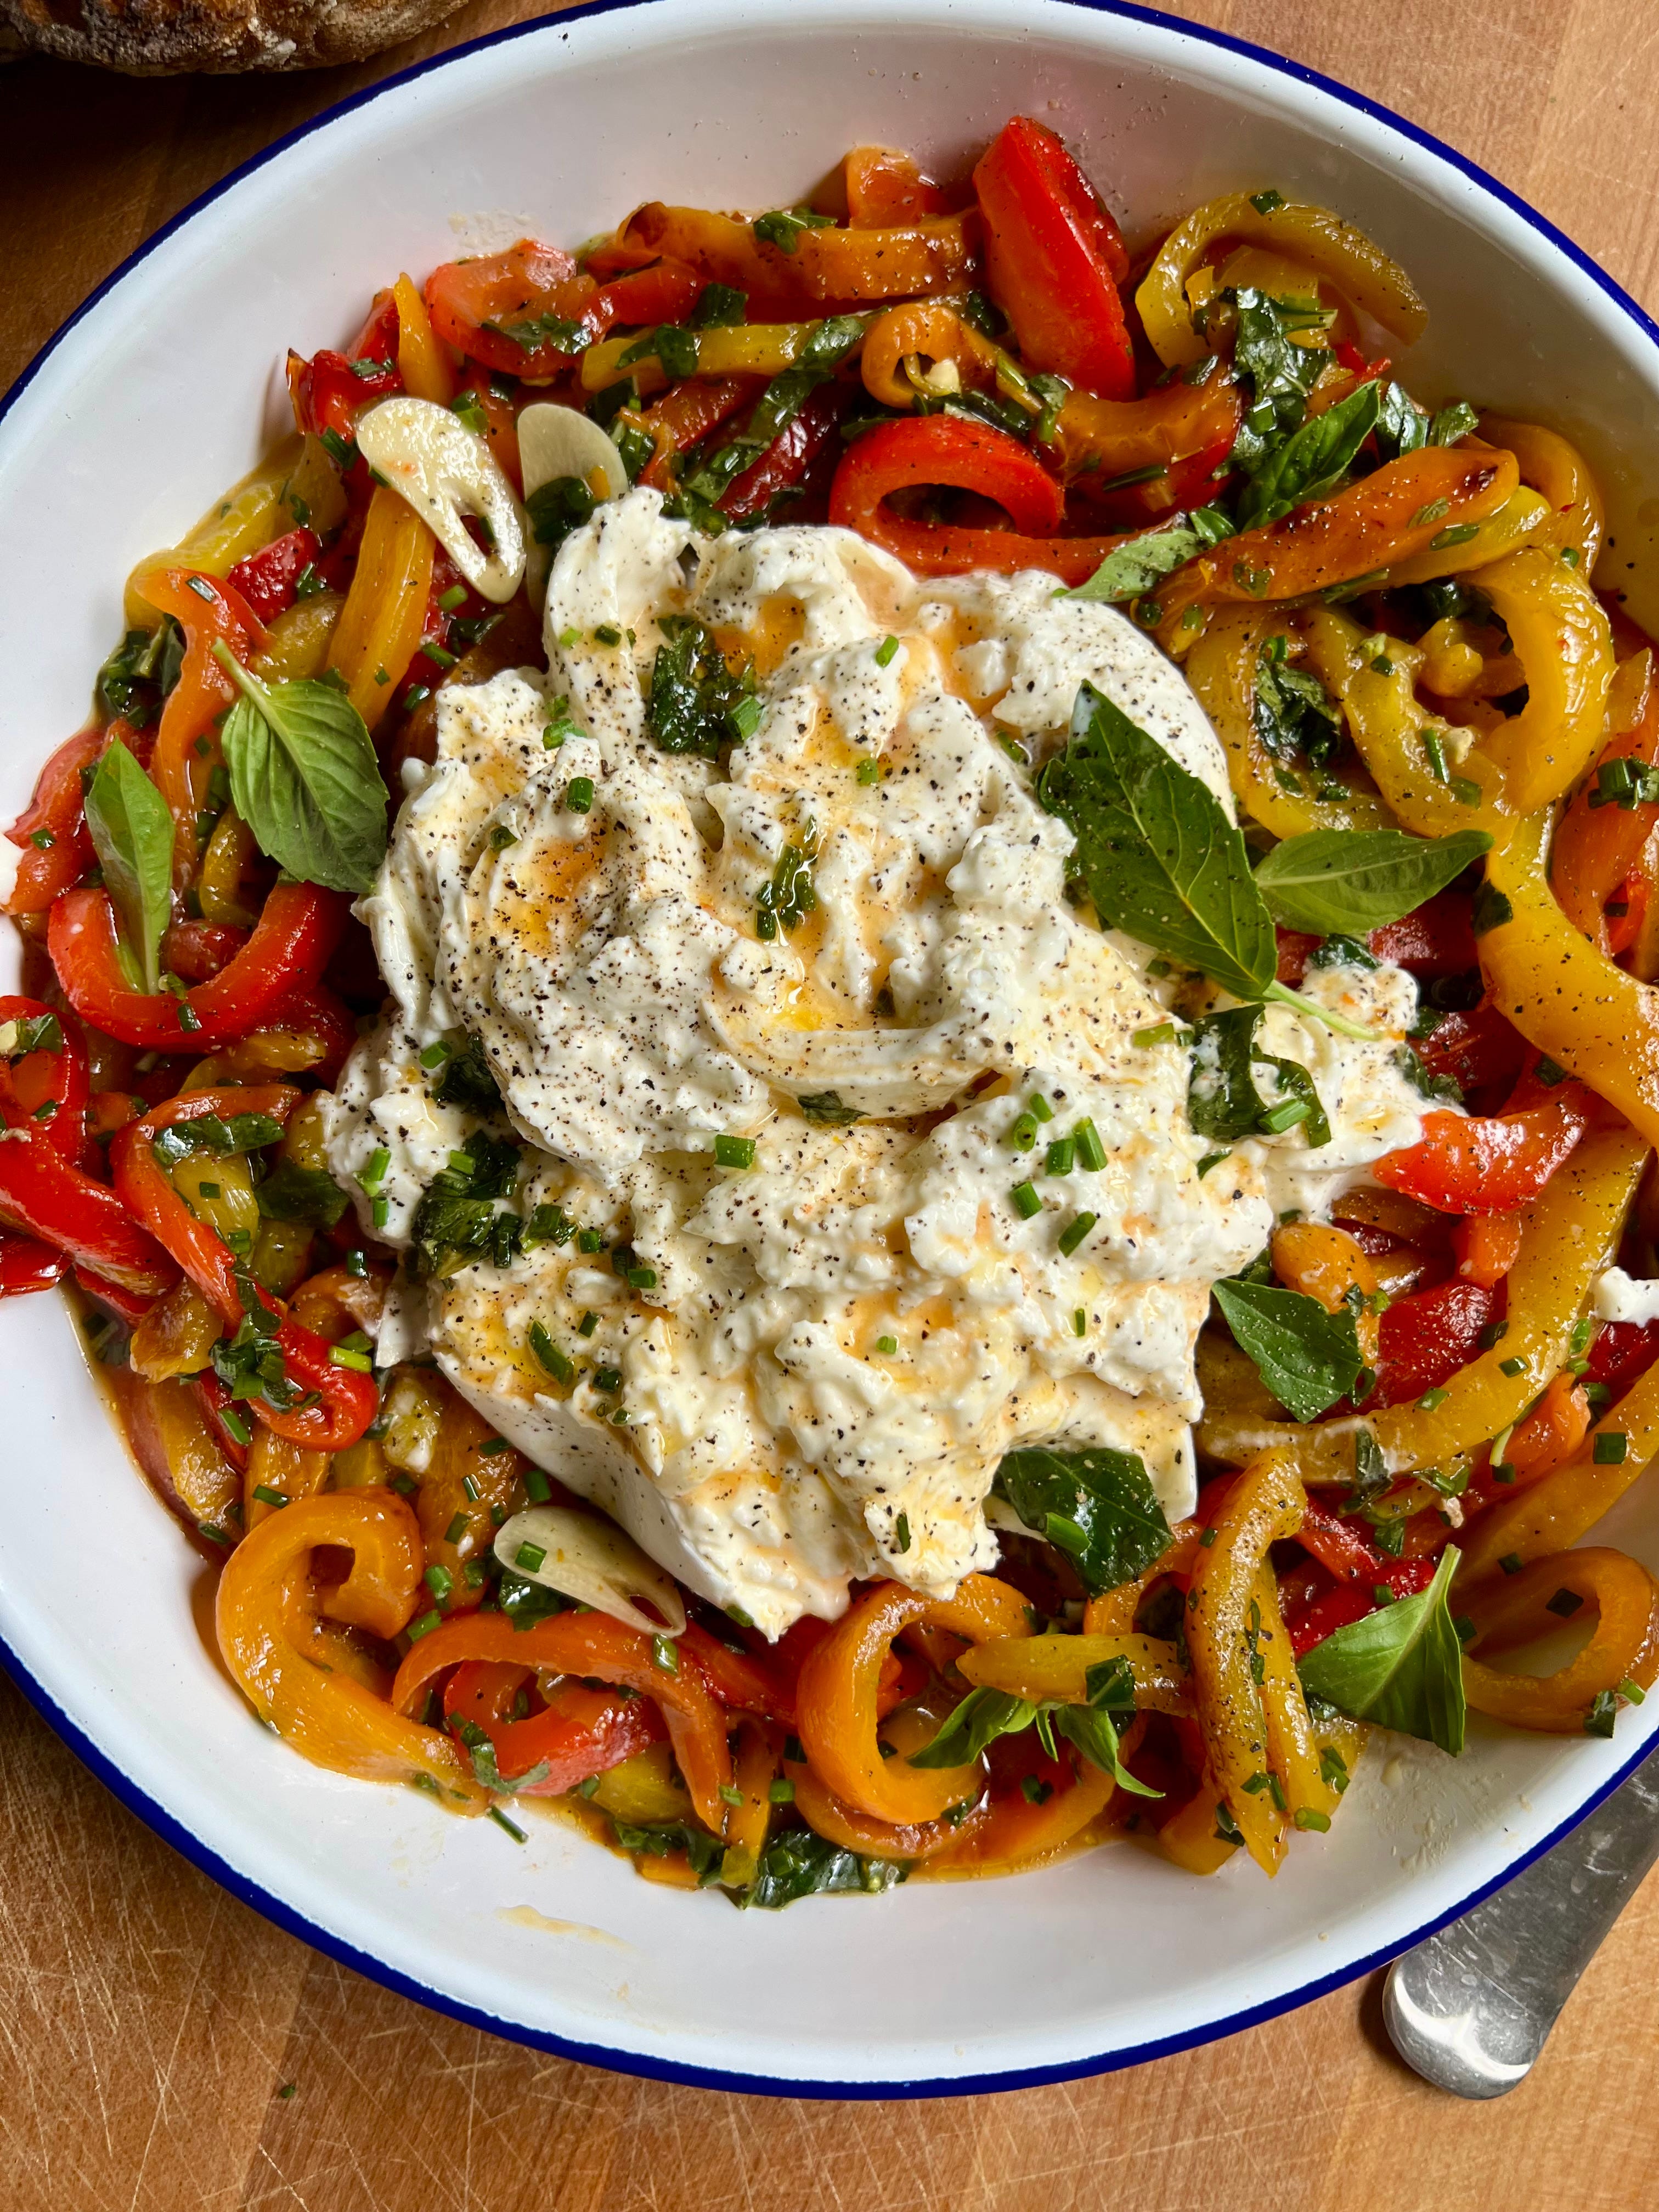
When it is time to serve, transfer the peppers to a shallow bowl along with some of the liquid. Break your burrata ball(s) open to expose the creamy inside and tuck them into the center. Drizzle a little extra marinade over the burrata and toss some extra chives over the whole thing. Marco and I have been eating these peppers and burrata just with a fork in individual little bowls. For a larger group, I like one big bowl with lots of toasty bread for people to spoon the peppers and burrata onto.
Either way you serve it, you won’t be able to stop eating it. Enjoy!

Grilled and Marinated Peppers with Burrata
6 red, orange, or yellow bell peppers
1 garlic clove, sliced
⅓ cup chopped chives (1 clamshell)
½ cup chopped basil
2 tablespoons white balsamic vinegar
2 tablespoons red wine vinegar
3 tablespoons olive oil
1 anchovy
1 teaspoon kosher salt
8oz burrata
1. Rinse and dry bell peppers. Using your hands, rub the peppers with a light coating of oil.
2. Gas: Light a gas burner with medium-high flame and place peppers on top. Cook each side until charred and blackened. Charcoal: Over medium-hot coals or a low flame, cook peppers until charred and blackened on each side.
3. Transfer peppers to a bowl and cover with plastic wrap. The steam will help loosen the skins. After about 15 minutes, when the peppers are cool enough to handle, rub off the skins.
4. While the peppers sit make the marinade. Add 1 anchovy and 1 teaspoon of kosher salt to a bowl big enough to hold the peppers. Use the back of a spoon to mash the anchovy and the salt breaking the anchovy up into a paste. Add the chopped chives, chopped basil, white balsamic vinegar, red wine vinegar, and olive oil to the anchovy. Whisk everything together.
5. Remove the skins from the peppers and cut each pepper in half. Discarded the stems, seeds, and core. Then slice the peppers into thin strips and add the sliced peppers to the marinade. Let the peppers marinate for at least 30 minutes on the counter, tossing every now and then.
6. To serve, spread the peppers in a bowl. Break burrata ball(s) and place them in the center of the peppers. Drizzle a few extra tablespoons of the vinegar herb mixture over the whole plate and finish with some fresh black pepper.

I mentioned last week that grilling is something I find very intuitive but I know it can also be confusing and even scary because…fire.
Do you have any grilling questions?! Hit me with them in the comments and I’ll cover them next week.
Xx M